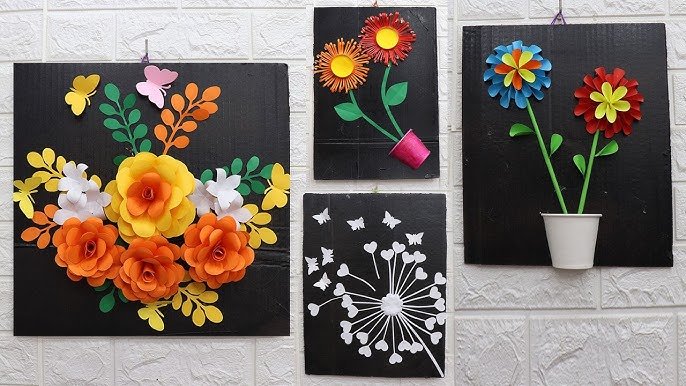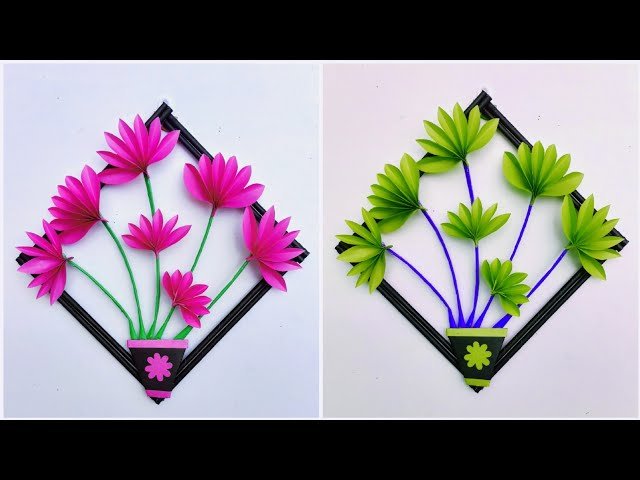
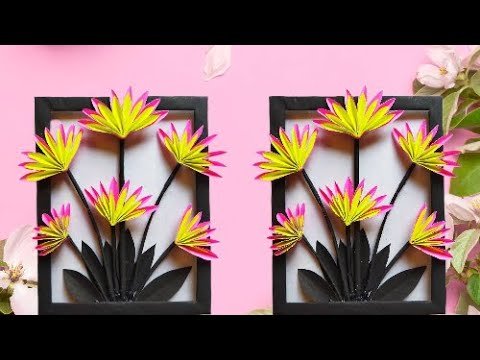
Creating a painting with paper flowers is a beautiful and unique way to combine painting and crafting. Here’s a step-by-step guide to help you create your own paper flower painting:
### Materials Needed:
1. **Canvas or thick paper** (as your base)
2. **Paints** (acrylics work well)
3. **Brushes** (various sizes)
4. **Palette** (for mixing paints)
5. **Water container** (for cleaning brushes)
6. **Pencil and eraser** (for sketching designs)
7. **Colored paper** (for making flowers)
8. **Scissors** (for cutting paper)
9. **Glue or adhesive** (for attaching flowers)
10. **Craft tools** (optional: quilling tools, hole punch, etc.)
### Steps:
1. **Prepare Your Base:**
– Choose your canvas or thick paper as the base for your painting. – Lightly sketch your design, focusing on the areas where you want to place the paper flowers.
2. **Paint the Background:**
– Paint the background of your canvas with acrylics. This can be a simple wash of color or a detailed scene. – Let the paint dry completely before moving to the next step.
3. **Create Paper Flowers:**
– Cut colored paper into various shapes and sizes to create different types of flowers.
– **Basic Flower:** Cut out petal shapes and glue them together in layers, starting from the outer petals to the center.
– **Rolled Flower:** Cut a spiral shape from a circle, then roll it tightly from the outer edge to the center and glue the base.
**3D Flowers:** Fold and cut paper to create more intricate designs, like roses or daisies.
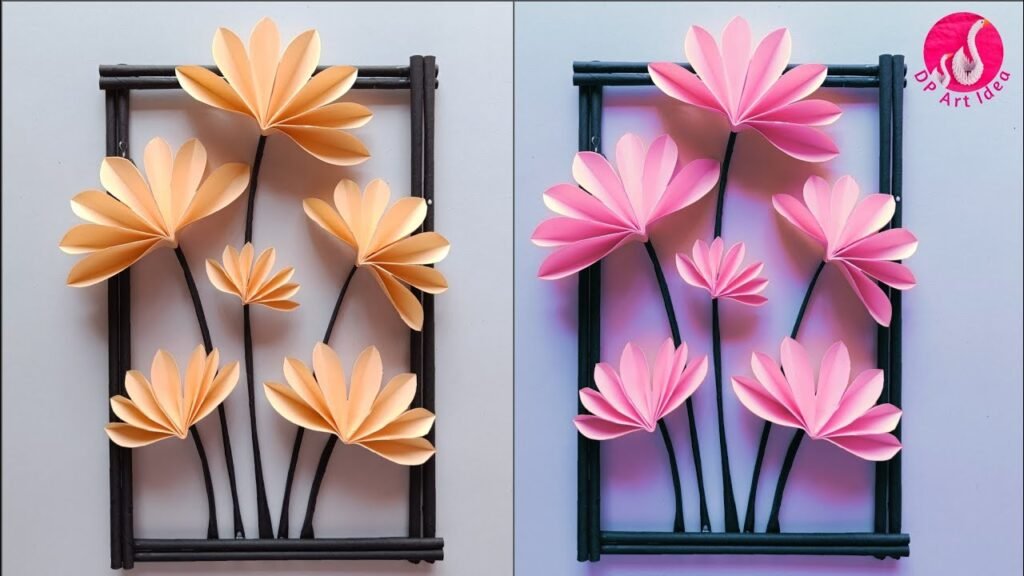
– Use quilling tools or other craft tools to add texture and detail to your flowers if desired.
4. **Assemble the Flowers:**
– Once your flowers are ready, arrange them on your painted canvas. Play around with the placement until you’re satisfied with the look.
5. **Attach the Flowers:**
– Glue the paper flowers onto the canvas. Make sure to press down firmly and let the glue dry completely. – You can use different types of glue depending on the weight of the paper and the size of the flowers.
6. **Add Finishing Touches:**
– Paint additional details around the flowers, such as stems, leaves, or other decorative elements.
– Add highlights or shadows to enhance the three-dimensional effect of your flowers.
7. **Display Your Art:**
– Once everything is dry and securely attached, your paper flower painting is ready to be displayed.
– Consider framing it or hanging it directly on the wall.
### Tips:- Experiment with different types of paper, such as tissue paper, cardstock, or crepe paper, to achieve various textures and effects.- Use a color palette that complements the painted background for a cohesive look.
– Mix and match different flower styles and sizes to create depth and interest.- If you want more durable flowers, consider using paper coated with a protective sealant or varnish.Enjoy the process of combining painting and paper crafting to create a beautiful piece of art!