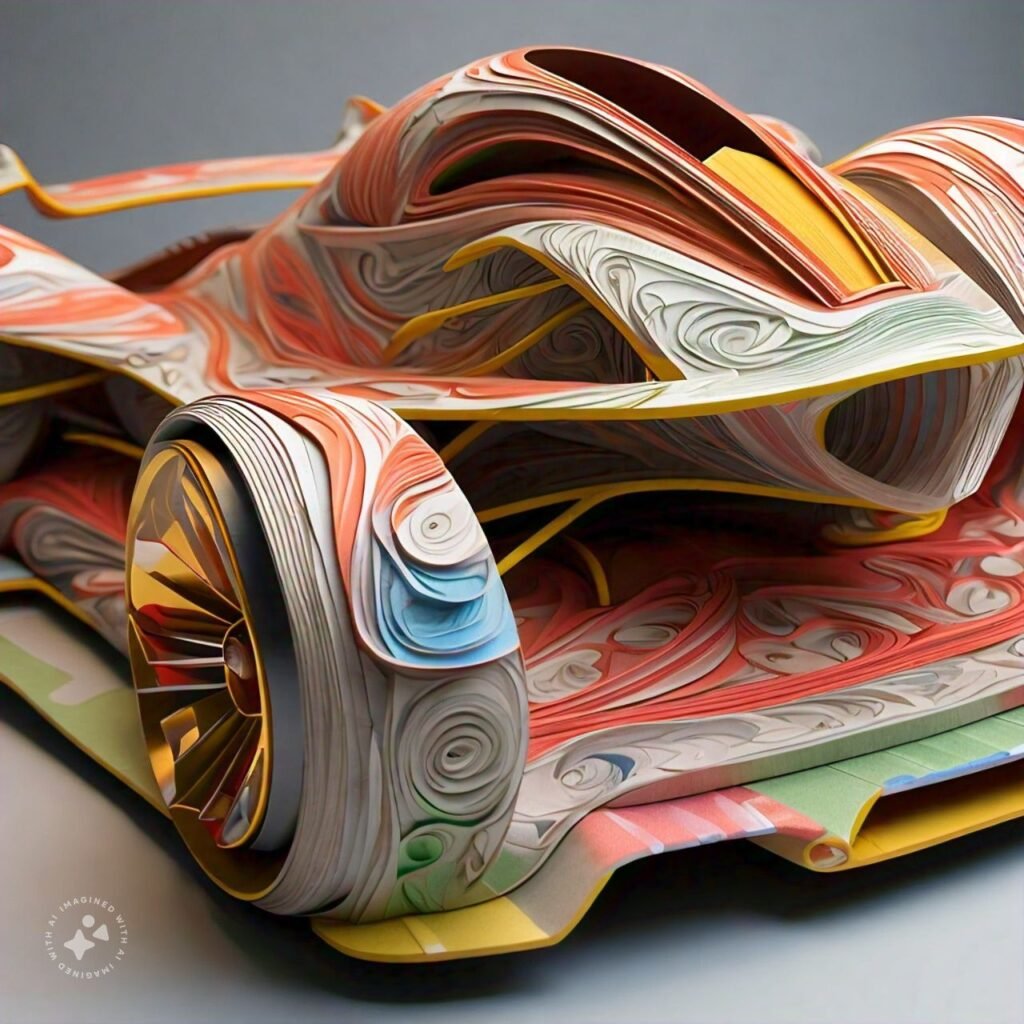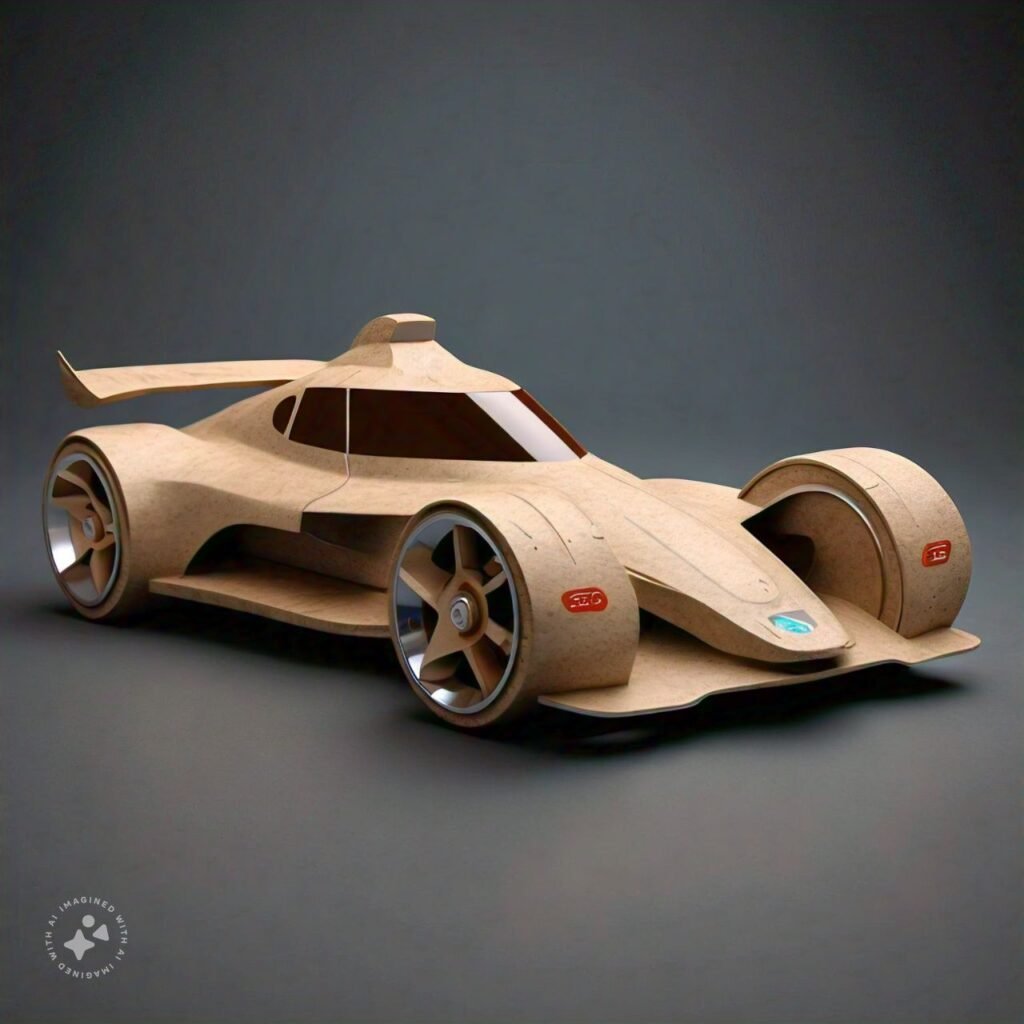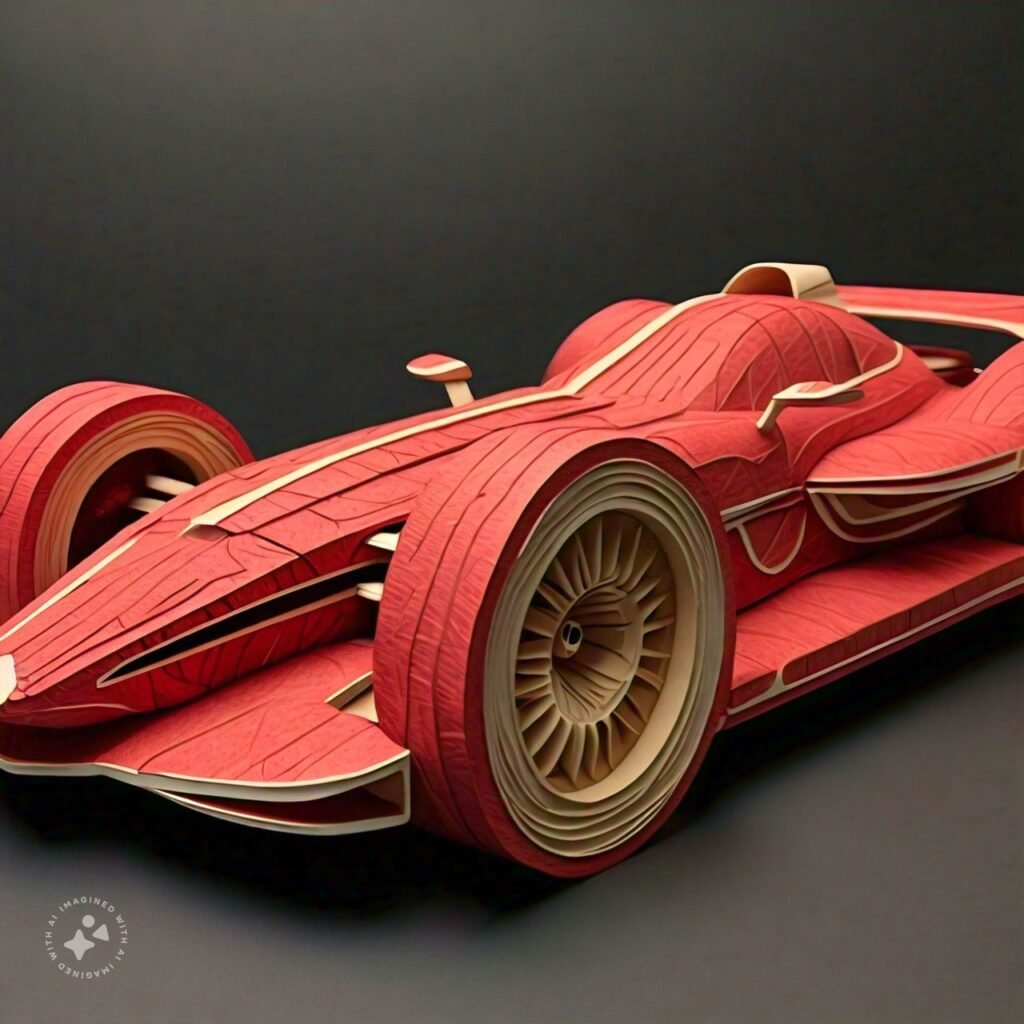
Making a paper toy car can be a fun and creative activity. Here’s a step-by-step guide:
### Materials Needed:
– A sheet of paper (preferably cardstock for durability)
– Scissors
– Glue or tape
– Colored pencils, markers, or crayons (optional for decoration)
– A pencil and ruler
### Steps:
1. **Design the Car:**
– Draw a rectangle on the paper. This will be the main body of the car. Make it about 6 inches long and 3 inches wide.

– Draw two small rectangles on either side of the large rectangle. These will be the sides of the car, each about 3 inches by 1 inch. – Draw a roof for the car. It should be about 4 inches by 2 inches.
– Draw the wheels. You can draw four circles about 1 inch in diameter.
2. **Cut Out the Pieces:**
– Carefully cut out all the pieces you’ve drawn: the main body, the sides, the roof, and the wheels.
3. **Fold the Main Body:**
– Fold the main rectangle along its length to form the base of the car.

– Fold the small rectangles (the sides) upwards to form the sides of the car.
4. **Assemble the Car:**
– Attach the sides to the base using glue or tape. – Attach the roof to the top of the sides.
5. **Attach the Wheels:**
– Glue or tape the wheels to the sides of the car. Make sure they are evenly spaced and aligned.
6. **Decorate:**
– Use colored pencils, markers, or crayons to decorate your car. You can add details like windows, doors, and a license plate.
7. **Final Adjustments:**
– Make sure all parts are securely attached and make any final adjustments to your car’s shape and design.Now you have a simple paper toy car! You can customize it further by adding details or even creating a more complex design.

Nice 🙂👍