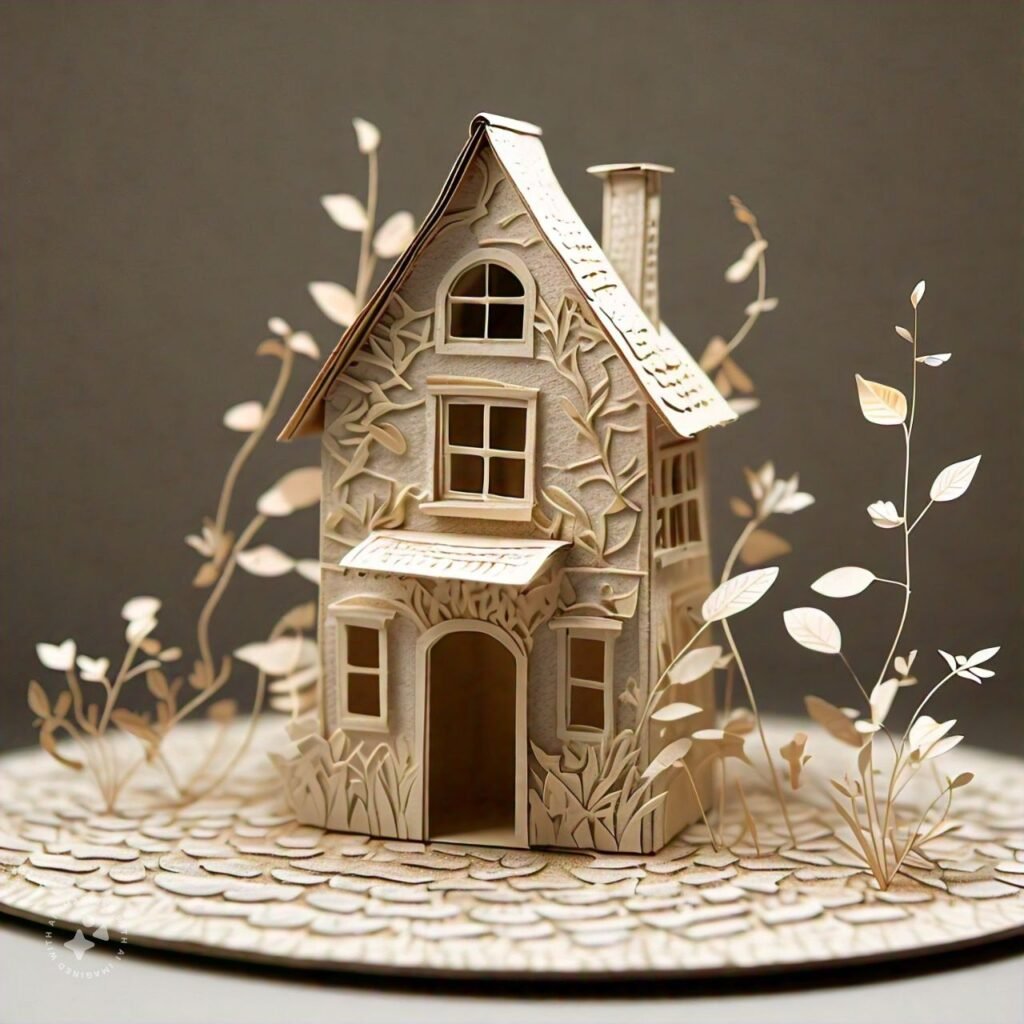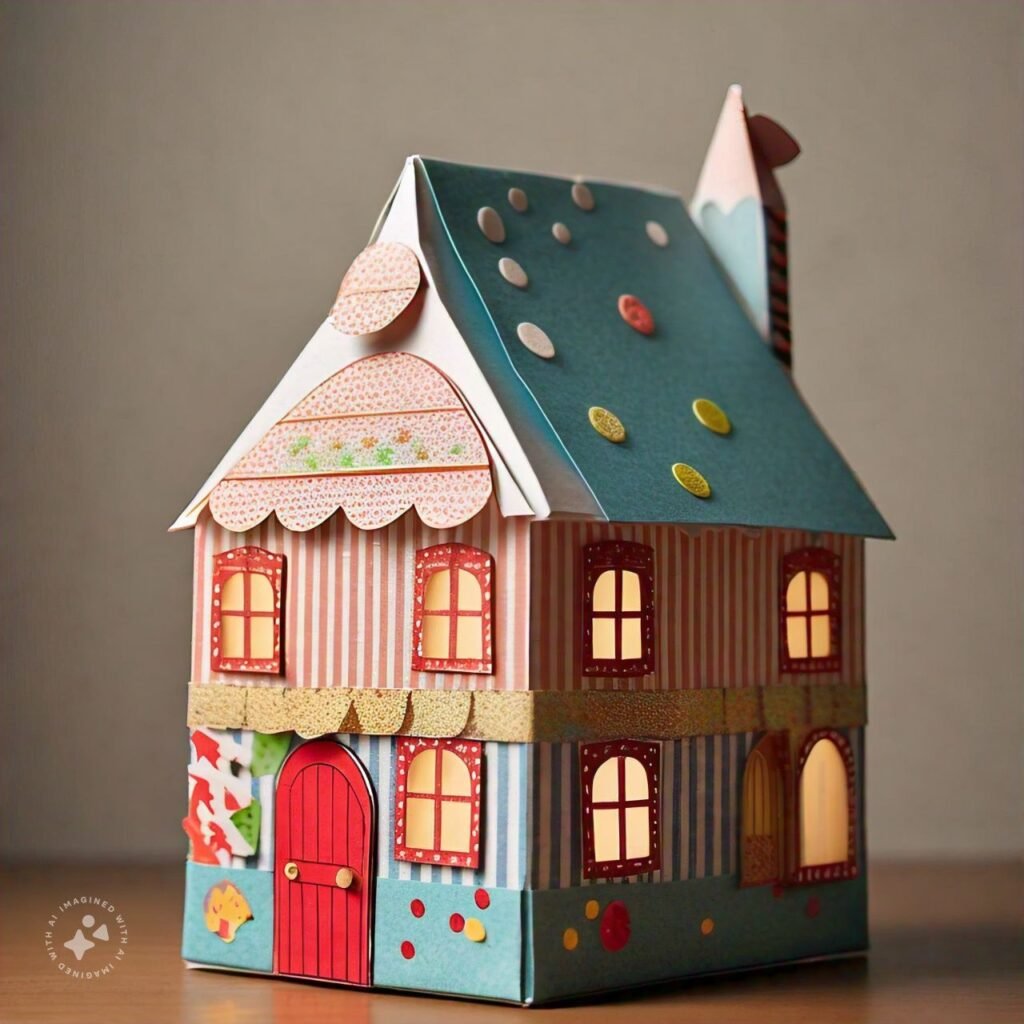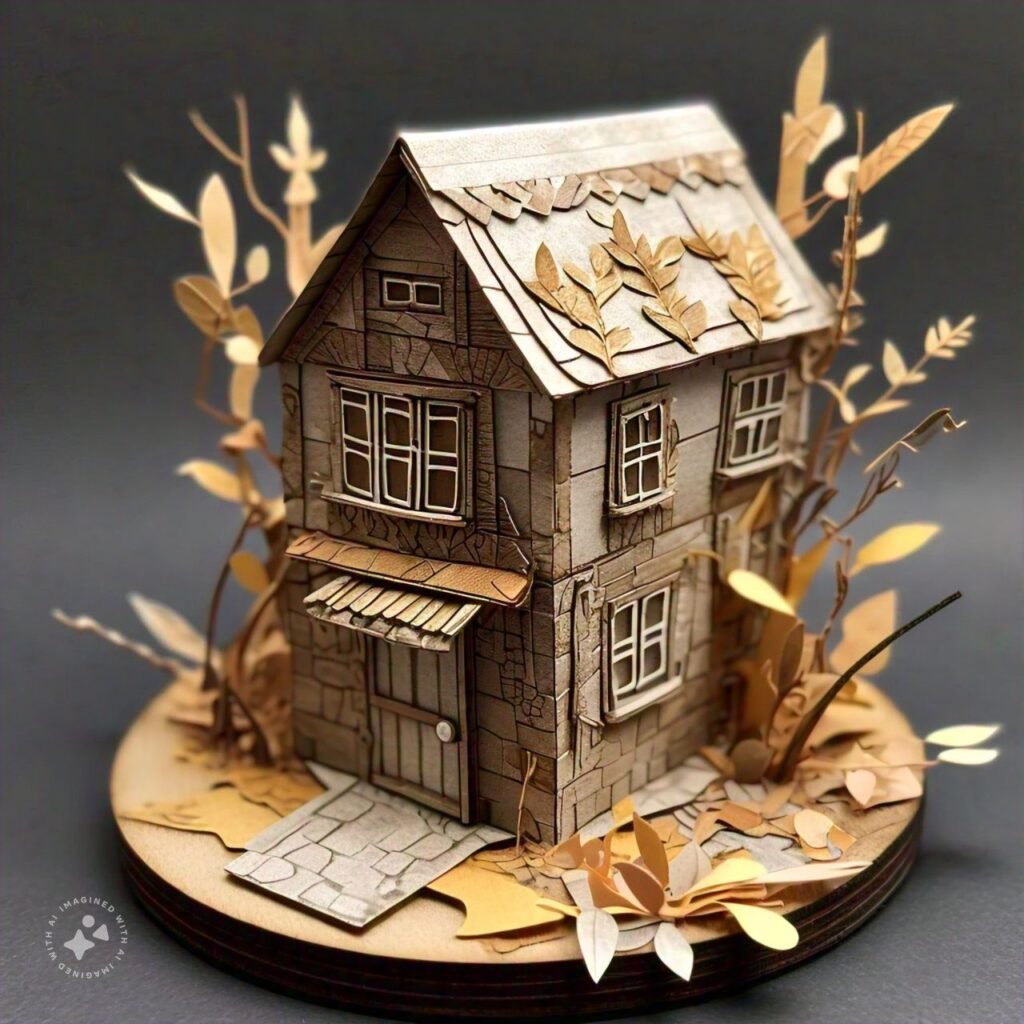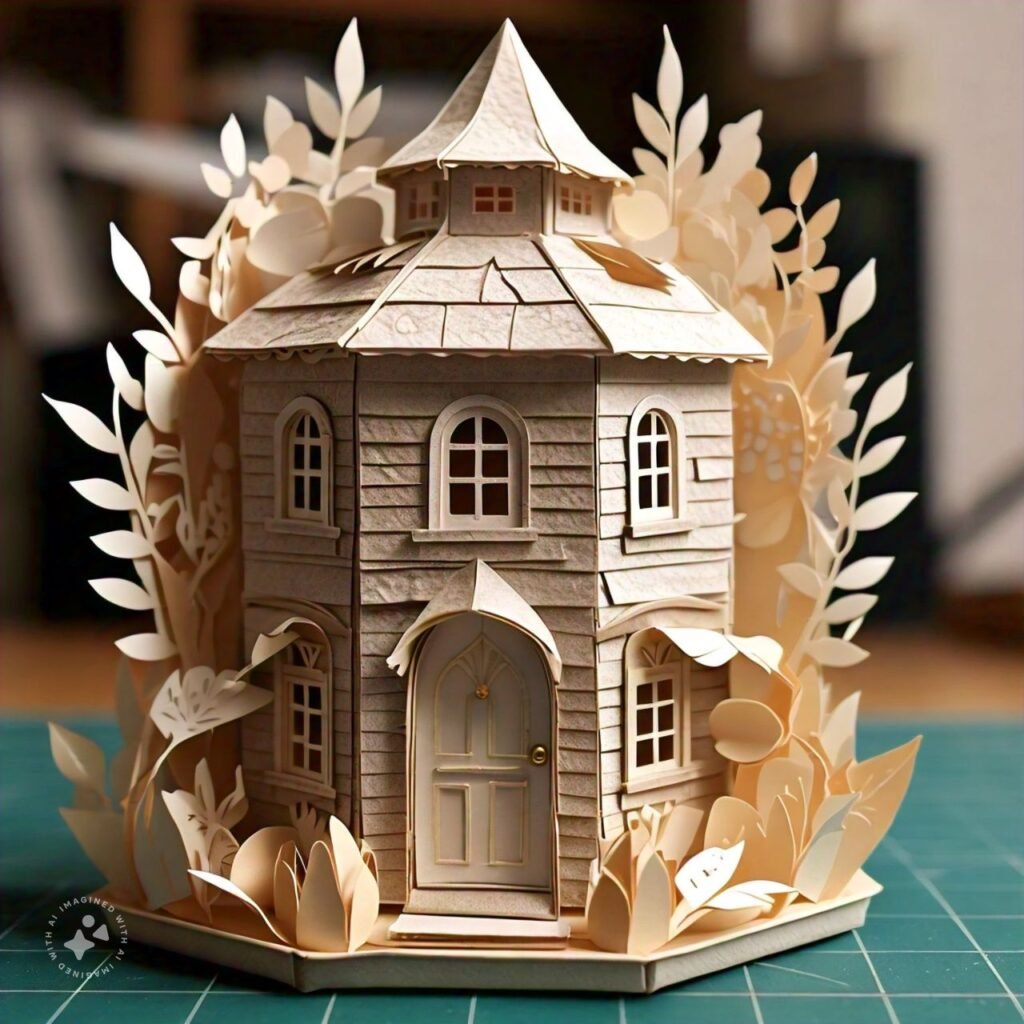
Creating a paper house is a fun and creative DIY project that can be enjoyed by people of all ages. It not only serves as a decorative piece but also as an educational tool for children to learn about architecture and design. In this blog, we will explore how to make a paper house step by step, its benefits, various uses, and some tips to enhance the experience.
### **How to Make a Paper House:
A Step-by-Step Guide
**#### **Materials Needed:
**- **Paper:**
You can use any type of paper, but cardstock or construction paper works best for a sturdy structure.
– **Scissors:**
For cutting the paper to the required shapes and sizes.
– **Glue or Tape:**
To assemble the house parts together.
– **Ruler:**
To measure and create precise cuts.
– **Pencil:**
For marking measurements and outlines.
– **Colored Pencils, Markers, or Paint:**
To decorate your house.
– **Optional Decorations:**
Stickers, glitter, or other embellishments to personalize your house.
#### **Step 1:
Design Your House
**Before you start cutting, it’s important to plan out your design. Decide how many rooms you want, the shape of the roof, and any other features like doors, windows, or chimneys. You can draw a rough sketch on a piece of paper to visualize your design.

#### **Step 2:
Create the Base
**Start by cutting out a square or rectangle from the cardstock. This will be the base of your house. The size of the base will determine the overall size of your paper house.
#### **Step 3:
Cut the Walls**
Next, cut out four pieces of paper for the walls. Make sure the height of each wall is the same, but you can vary the widths depending on your design. Cut out windows and doors in these pieces before assembling them.
#### **Step 4:
Assemble the Walls**
Using glue or tape, attach the walls to the base. Make sure the corners align and the walls stand upright. Let the glue dry completely before moving on to the next step.
#### **Step 5:
Create and Attach the Roof
**Cut out two pieces of paper for the roof. The length of the roof pieces should be longer than the walls to create an overhang. Fold each piece in half and glue them together along the folded edge, then attach them to the top of the walls.
#### **Step 6:
Add Details
**Once the basic structure is complete, you can add details like a chimney, shutters, or a front porch. Use additional paper, markers, or paint to bring your house to life.
#### **Step 7:
Decorate**
Now that your house is built, it’s time to decorate! You can paint the walls, add flowers to the windows, or even create a paper garden around your house. The possibilities are endless!

### **Benefits of Making a Paper House
- **#### **1. Enhances Creativity:**
Building a paper house allows you to express your creativity. From designing the layout to decorating the exterior, every step encourages you to think outside the box and come up with unique ideas.
- #### **2. Educational Tool:**
For children, making a paper house can be an educational activity. It helps develop spatial awareness, fine motor skills, and an understanding of basic architectural concepts. It’s also a fun way to introduce them to geometry, as they learn about shapes, sizes, and angles.
- #### **3. Cost-Effective:**
This project requires minimal materials, most of which are commonly found in households. It’s an inexpensive way to create something beautiful and functional.
- #### **4. Environmentally Friendly:**
Using recycled paper or old magazines to build your paper house is a great way to reduce waste and promote sustainability. It teaches the importance of recycling and reusing materials.
#### **5. Stress Relief:**
Crafting can be a calming and therapeutic activity. It provides a sense of accomplishment and can help reduce stress and anxiety.

### **Uses of a Paper House**#### **
1. Home Decor:**
A paper house can be a charming addition to your home decor. Place it on a shelf, mantel, or as a centerpiece on your dining table. You can create seasonal variations, like a gingerbread house for Christmas or a spooky house for Halloween.
#### **2. Educational Displays:**
Teachers can use paper houses as part of classroom displays to teach students about architecture, community planning, or historical buildings. It’s a hands-on way to engage students in learning.
#### **3. Gifts:**
A personalized paper house can make a thoughtful and unique gift. Decorate it to match the recipient’s interests or favorite colors, and it becomes a memorable keepsake.
#### **4. Children’s Play:**
Kids can use paper houses as part of their imaginative play. Create an entire neighborhood of paper houses and let their imaginations run wild as they build stories around them.
#### **5. Photography Props:**
Paper houses can also be used as props in photography, especially for miniature or themed photo shoots. They add a whimsical touch and can be customized to fit the theme of the shoot.
### **Tips for Making a Paper House**
1. **Start Simple:**
If you’re new to paper crafting, start with a simple design and gradually work your way up to more complex structures.
2. **Use Templates:**
There are plenty of free templates available online that can help guide your project. These templates provide pre-measured and pre-cut shapes that you can easily assemble.
3. **Experiment with Different Materials:**
While paper is the traditional choice, you can experiment with other materials like cardboard, fabric, or foam board to add texture and durability to your house.

4. **Involve the Whole Family:**
Making a paper house can be a fun family activity. Everyone can contribute to different parts of the project, making it a collaborative effort.
5. **Document Your Work:**
Take pictures of each step of the process, especially if you plan to make multiple houses. It’s a great way to track your progress and share your creations with others.
### **Conclusion**Creating a paper house is not just a craft; it’s an experience that combines creativity, learning, and fun. Whether you’re looking to add a handmade touch to your home decor, create an educational tool, or simply enjoy a relaxing activity, making a paper house offers countless possibilities. With a few basic materials and a bit of imagination, you can bring your architectural dreams to life, one paper house at a time. So, gather your supplies and start building today!
