### How to Make a Rainbow Paper Fan
#### Materials Needed:
- – **Rainbow-colored papers** (or white paper and colored markers)
- – **Scissors**
- – **Glue or double-sided tape**
- – **Wooden sticks or popsicle sticks**
- – **Stapler or string (optional for securing)**
- – **Ruler and pencil** (for measurements)
#### Instructions:
1. **Prepare the Paper**:
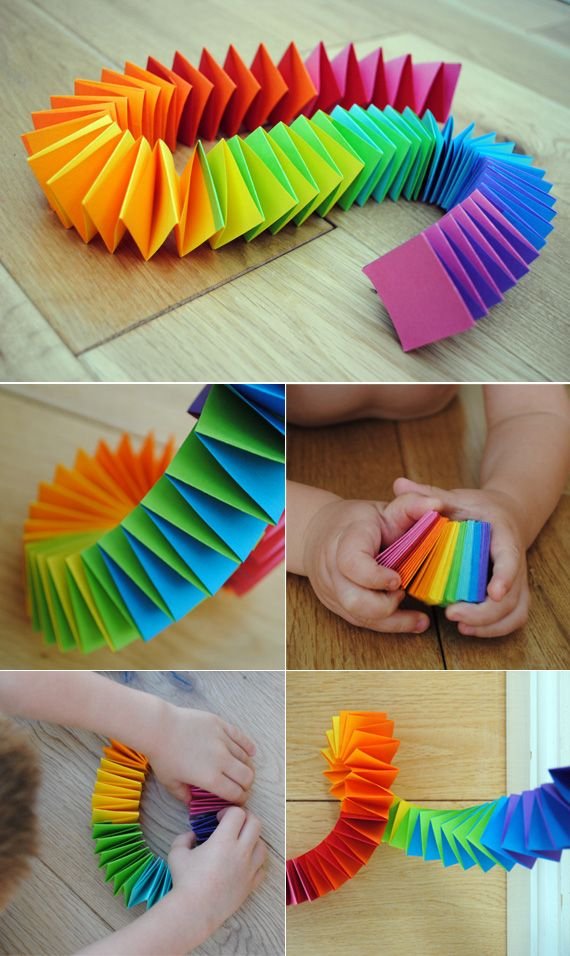
– Take different colored papers to represent the rainbow colors: red, orange, yellow, green, blue, and purple. If you only have white paper, you can color the paper with markers.
– Cut each paper into a rectangular strip, approximately 4 inches wide and 12 inches long.
2. **Accordion Fold**:
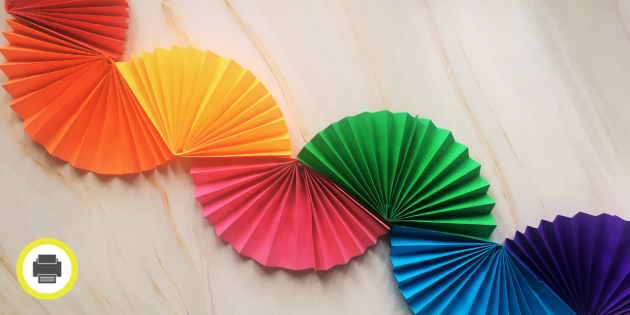
– Take each strip of paper and start folding it in an accordion style, making even folds about 1 inch wide. Ensure that all strips are folded the same way for uniformity.
3. **Assemble the Fan**:
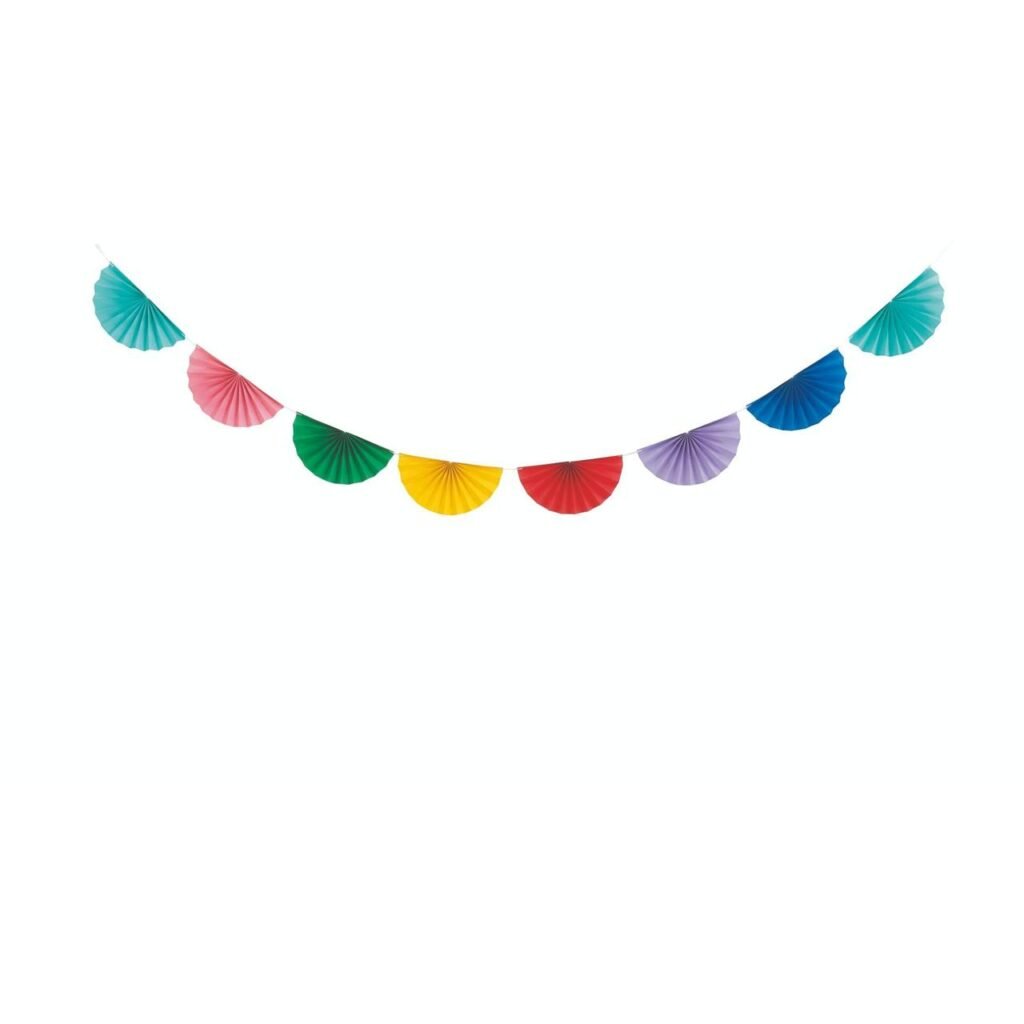
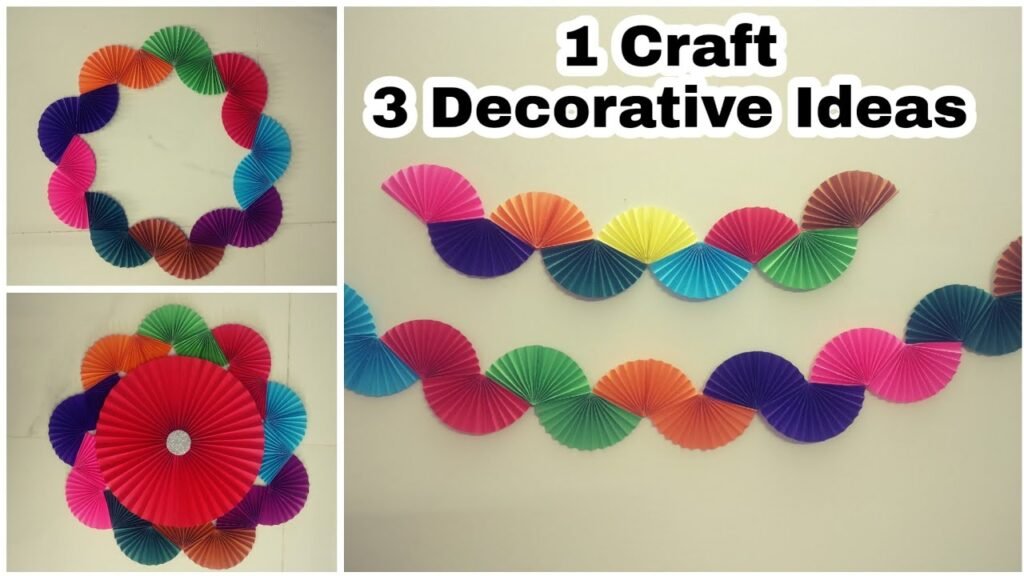
– Once all the strips are folded, lay them out in the order of the rainbow colors. Use glue or double-sided tape to attach each folded strip to the next one at the ends.
– Make sure to attach them in a seamless transition so that the rainbow flows smoothly.
4. **Attach Wooden Sticks**:
– Glue or tape one end of the fan to a wooden stick or popsicle stick. This will serve as the handle. – Repeat for the other side of the fan, attaching the other end of the paper to another stick. This will give you a foldable fan.
5. **Secure the Fan** (optional):
– If you want extra durability, staple the base of the paper fan at the point where it attaches to the sticks. You can also use a string to tie the bottom to ensure that the folds stay secure.
6. **Fan it Out**:
– Once everything is dry and secure, carefully fan out the paper to reveal the full rainbow. Your DIY rainbow paper fan is now complete!
—### Benefits of Making a Rainbow Paper Fan:

1. **Enhances Creativity**:
Making a rainbow fan allows for creative expression, especially if you design your own colors and patterns.
2. **Budget-Friendly**:
It’s an inexpensive project, requiring only basic supplies that are often already available at home.
3. **Environmentally Friendly**:
Using paper as the primary material promotes eco-friendly crafting, especially if recycled paper is used.
4. **Educational Tool**:
It’s a fun way to teach children about colors, the rainbow spectrum, and even basic crafting skills.
5. **Personalized Decoration**:
These fans can be customized to match party themes, adding a personalized decorative touch to celebrations.
—### Uses of a Rainbow Paper Fan:
1. **Cooling Off**:
The paper fan serves its traditional purpose of keeping you cool during hot weather.
2. **Party Decoration**:
Rainbow paper fans can be hung up or used as centerpieces for events like birthday parties, baby showers, or pride celebrations.
3. **Photo Props**:
Bright and colorful, rainbow fans make for excellent photo props, adding a pop of color to any picture.
4. **Classroom Craft Projects**:
Teachers can use this craft to teach students about rainbows and colors while developing their motor skills.
5. **Home Decor**:
When not in use, the fan can be displayed as a piece of art, bringing vibrant colors to your space.—A rainbow paper fan is not just a fun DIY project, but a versatile and functional item with a wide range of benefits and uses. Whether you’re cooling off in style or brightening up a space, it’s a perfect craft for all ages!