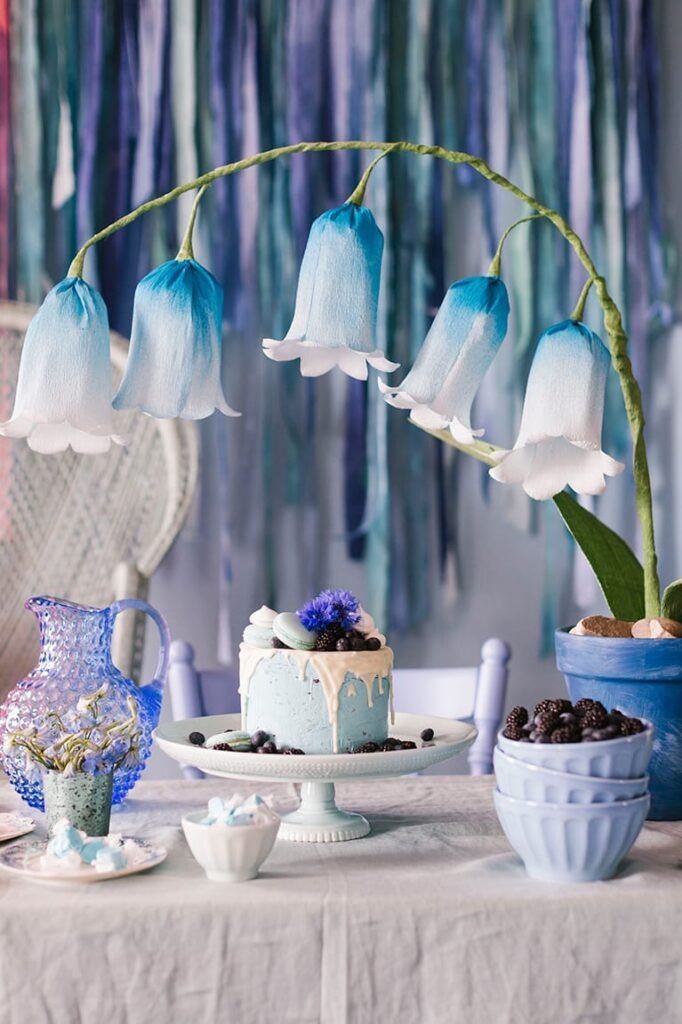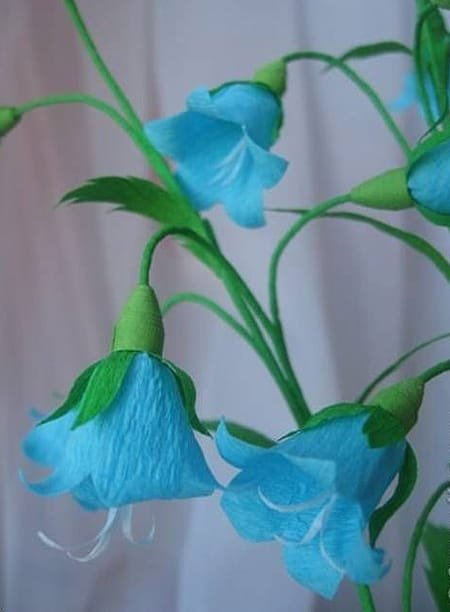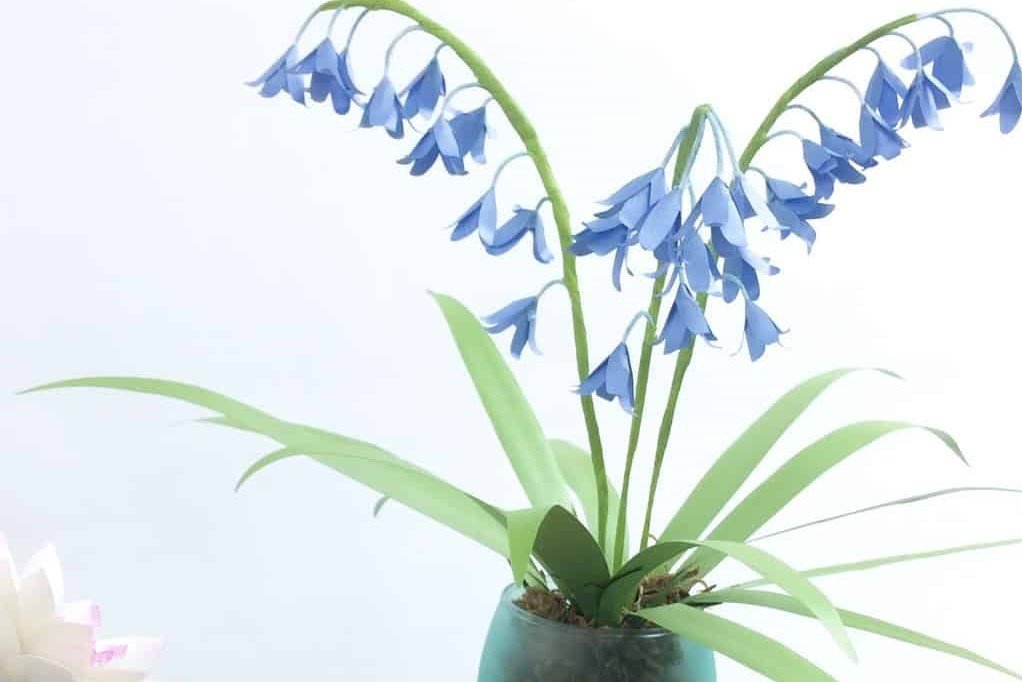
Creating a bluebell flower from paper can be a fun and creative craft project. Here’s a simple step-by-step guide:
### Materials Needed:-
Blue and green colored paper (blue for the flower and green for the stem and leaves)
– Scissors
– Glue
– A pencil
– A ruler
– Floral wire (optional for added structure)
### Steps:1.
**Prepare the Petals:**
– Cut a strip of blue paper about 4 inches wide and 12 inches long.

– Fold the strip in half lengthwise.
– Draw the outline of half of a bluebell petal along the folded edge. It should look like a teardrop with a slightly wavy edge.
– Cut out the petal shape, ensuring the fold remains intact, creating a petal that opens up like a book. Repeat this to make 5-6 petals.
2. **Form the Flower:**
– Take one petal and apply glue along one side of the fold.
– Roll the petal around itself to create a conical shape and secure it with glue. This will form the center of the bluebell.
– Attach the other petals around the central cone by applying glue at the base of each petal and overlapping them slightly.

3. **Create the Stem:**
– Cut a strip of green paper about 1 inch wide and 10 inches long.
– Roll the strip tightly to form a thin stem and secure the end with glue.
– If you want a sturdier stem, wrap the green paper around a piece of floral wire and secure it with glue.

4. **Attach the Flower to the Stem:**
– Apply glue to the bottom of the flower and attach it to the top of the stem.
– Hold it in place for a few seconds to ensure it sticks well.
5. **Add Leaves:**
– Cut out leaf shapes from the green paper. Bluebells typically have long, narrow leaves with pointed ends.
– Glue the leaves along the stem, placing them at various heights.

6. **Finishing Touches:**
– Allow all the glued parts to dry completely.
– You can slightly curl the petal edges outward to give the flower a more natural look.Your paper bluebell flower is now complete! You can create multiple flowers and arrange them in a vase for a beautiful paper flower bouquet.

Sophisticated 💖
❤️
💮❤️
🌷☺️