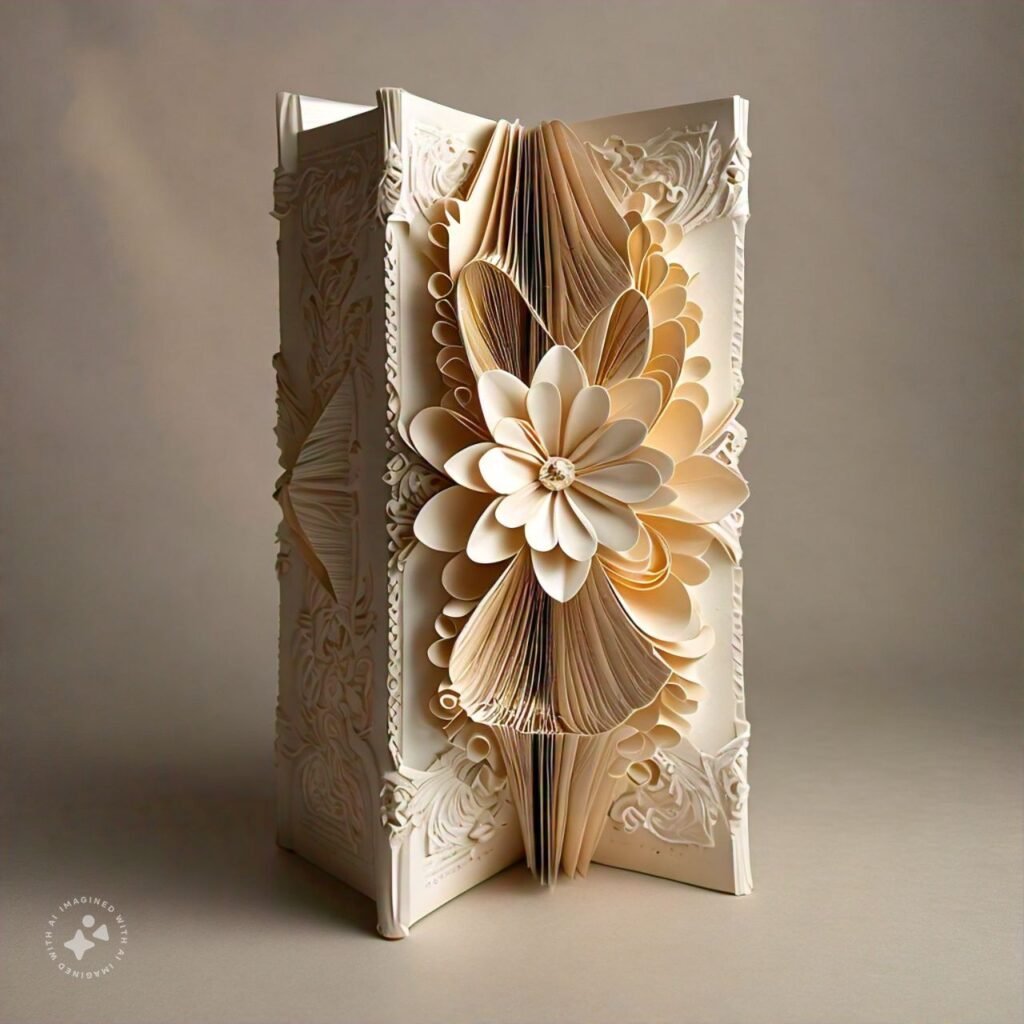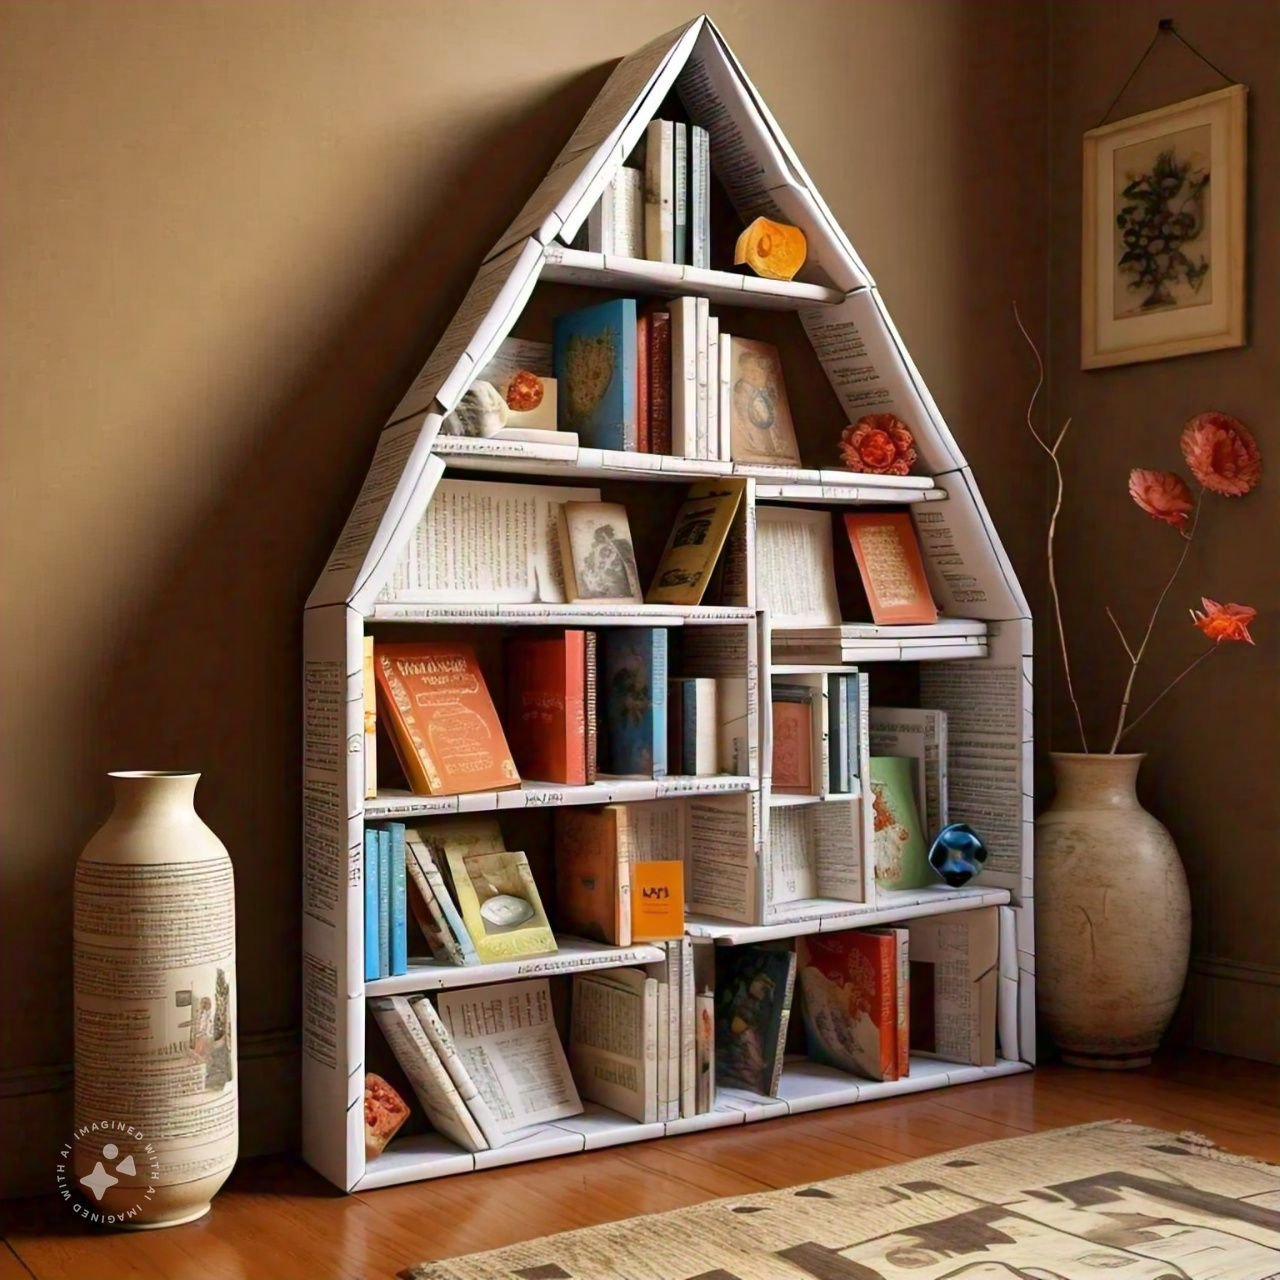
Making a paper book holder is a simple and fun DIY project. Here’s a basic step-by-step guide:
### Materials Needed:
– A piece of sturdy paper or cardstock
– Scissors
– Ruler
– Pencil
### Instructions:
1. **Choose Your Paper:**
– Select a piece of sturdy paper or cardstock. The size of the paper will depend on the size of the book you want to hold. For a standard book, a piece of paper about 8.5 x 11 inches works well.

2. **Measure and Cut:**
– Measure and cut the paper into a rectangular shape if it’s not already. You can also fold it in half if you prefer a thicker holder.
3. **Create the Base:**
– Fold the paper in half lengthwise. Unfold it, then fold each half again to the center fold to create a strong base.
4. **Form the Book Holder:**

– Fold the bottom third of the paper up to create a lip. This lip will help hold the book in place. – Then, fold the sides of the paper inward at a slight angle, forming a triangular shape with the base of the triangle being the width of the book holder. The angle and width will depend on the thickness of your book.
5. **Secure the Holder:**
– Use the folds to create creases, ensuring the book holder stands upright. You might need to adjust the folds a bit to get the right angle and stability.
6. **Test It:**

– Place your book on the holder to see if it stands properly. Adjust the folds if necessary for better stability.Optional: Decorate the book holder with markers, stickers, or other decorations to personalize it.This simple paper book holder should be able to support most paperback books and small hardcovers. For larger or heavier books, consider using thicker cardstock or even lightweight cardboard.

Good 👍 work