
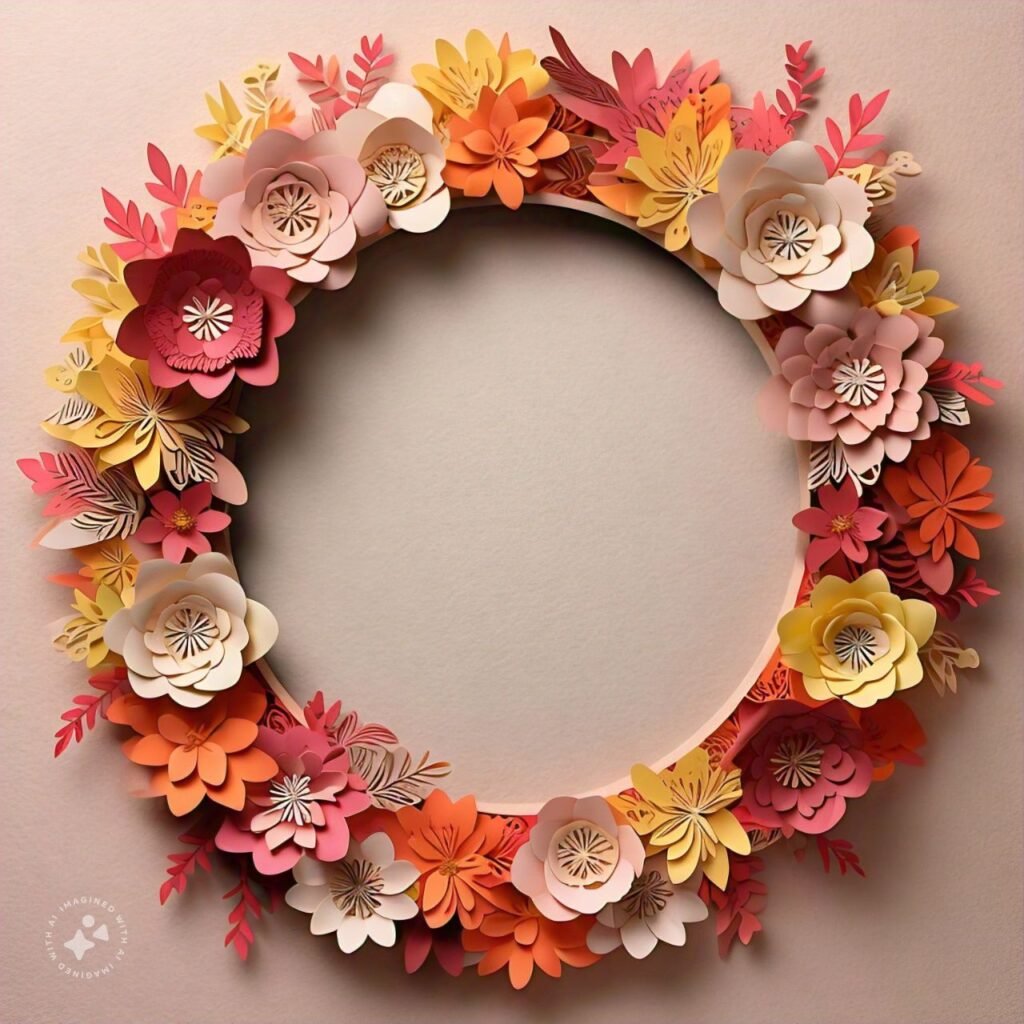
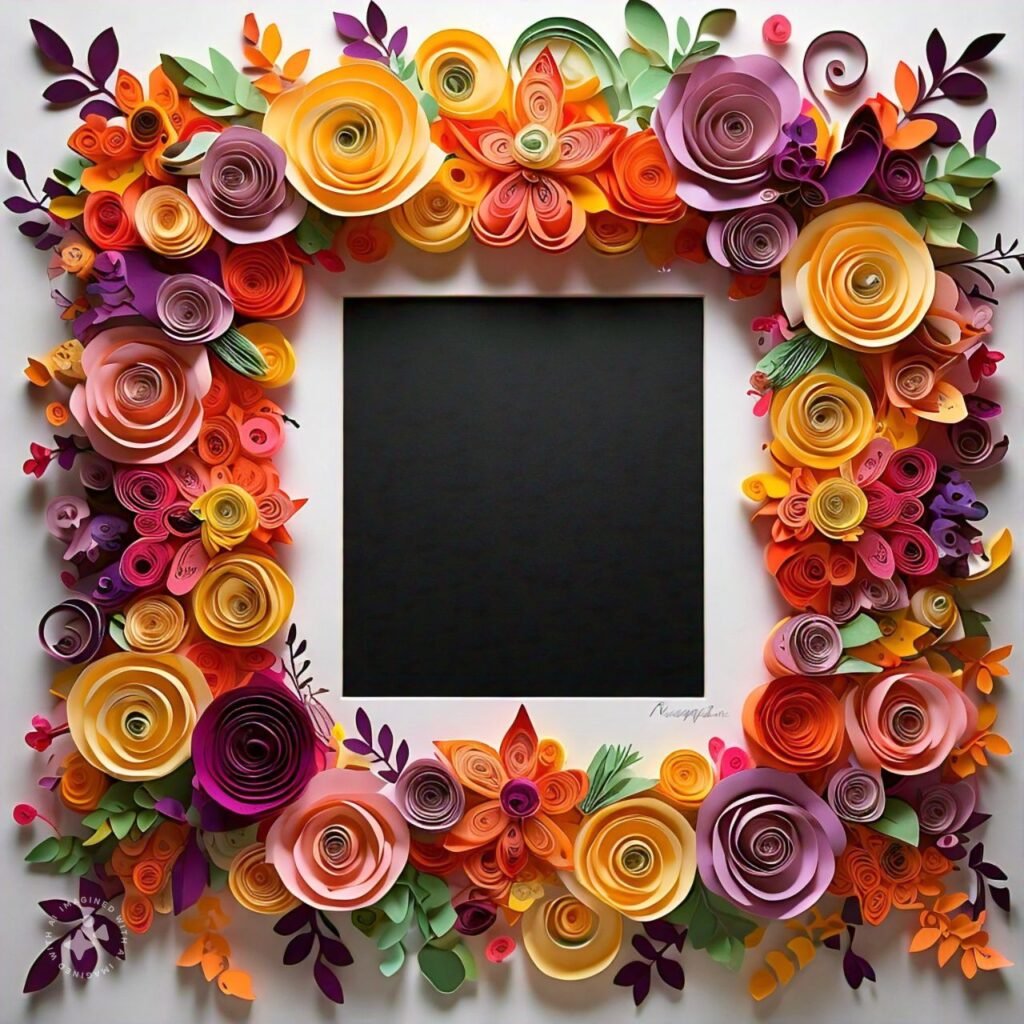
### How to Make a Photo Frame with Paper Flowers
#### Materials Needed:
– Cardboard or thick paper for the frame- Colored paper for flowers
– Scissors
– Glue
– Pencil
– Ruler
– Decorative items (e.g., beads, glitter, stickers)
#### Steps:
1. **Create the Frame:**
– Cut out a rectangular piece of cardboard for the frame’s base.
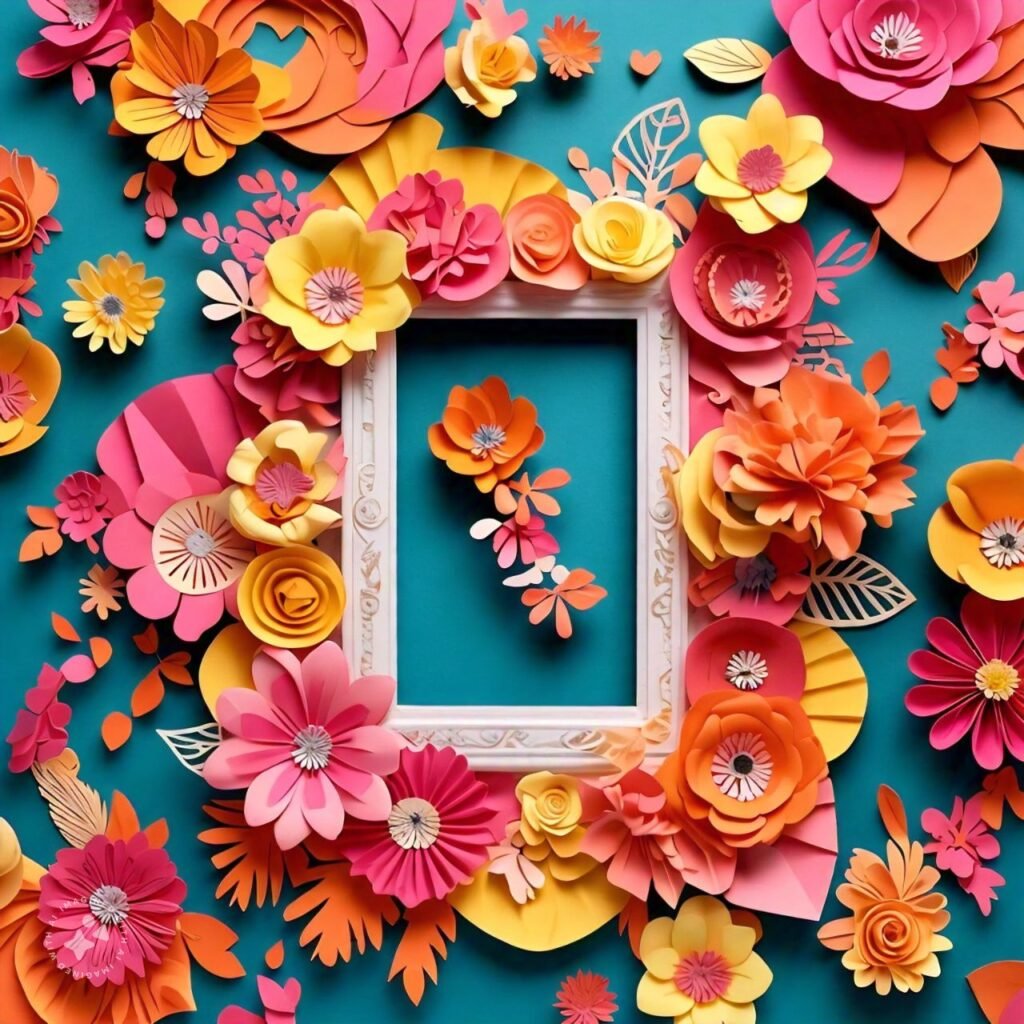
– Cut out the center of the rectangle to create an opening for the photo.
– Optionally, cover the cardboard with colored paper or paint it for a smoother finish.
2. **Make the Flowers:**
– Cut out petal shapes from the colored paper. You’ll need several petals for each flower.
– For a simple flower, cut small circles for the centers.
– Assemble the petals around the center, gluing them in place. Allow the glue to dry.
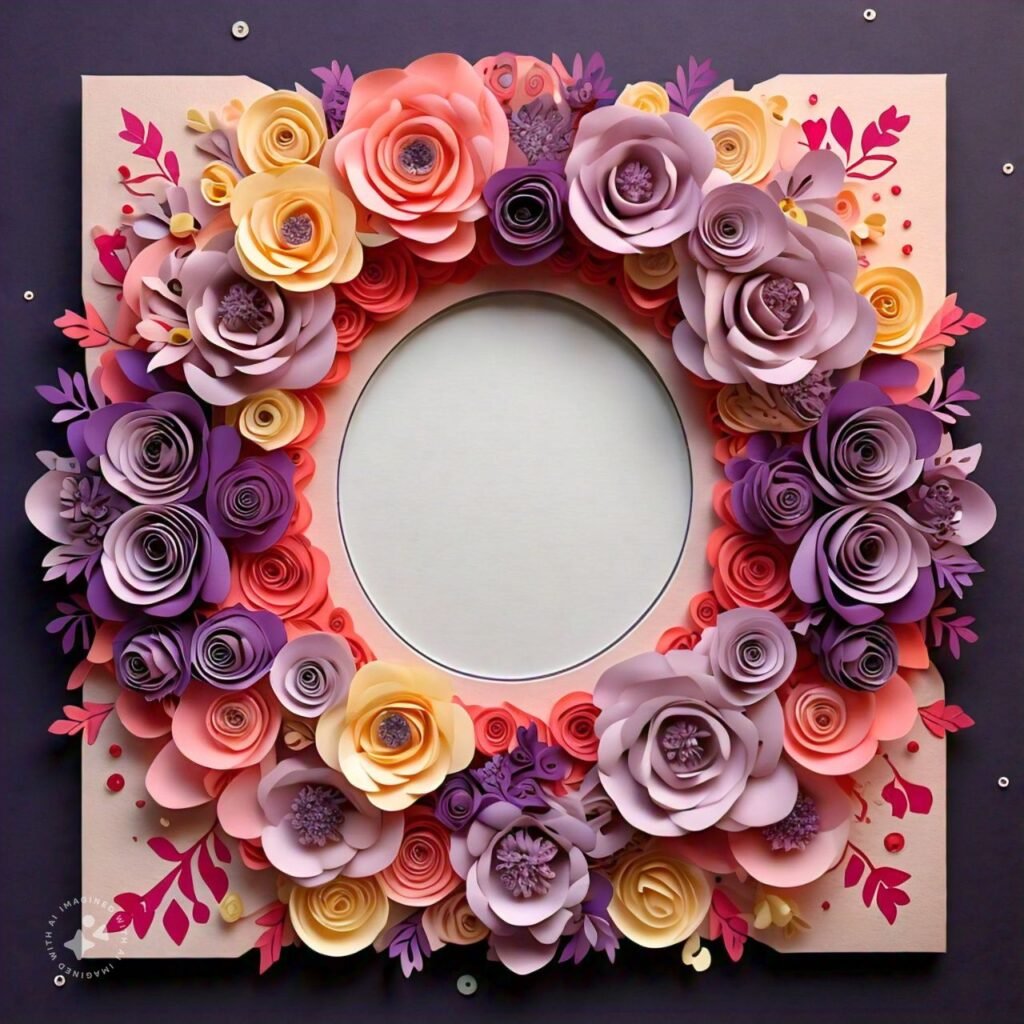
3. **Decorate the Frame:**
– Arrange the paper flowers around the frame, gluing them in place.
– Add any additional decorative items you like.
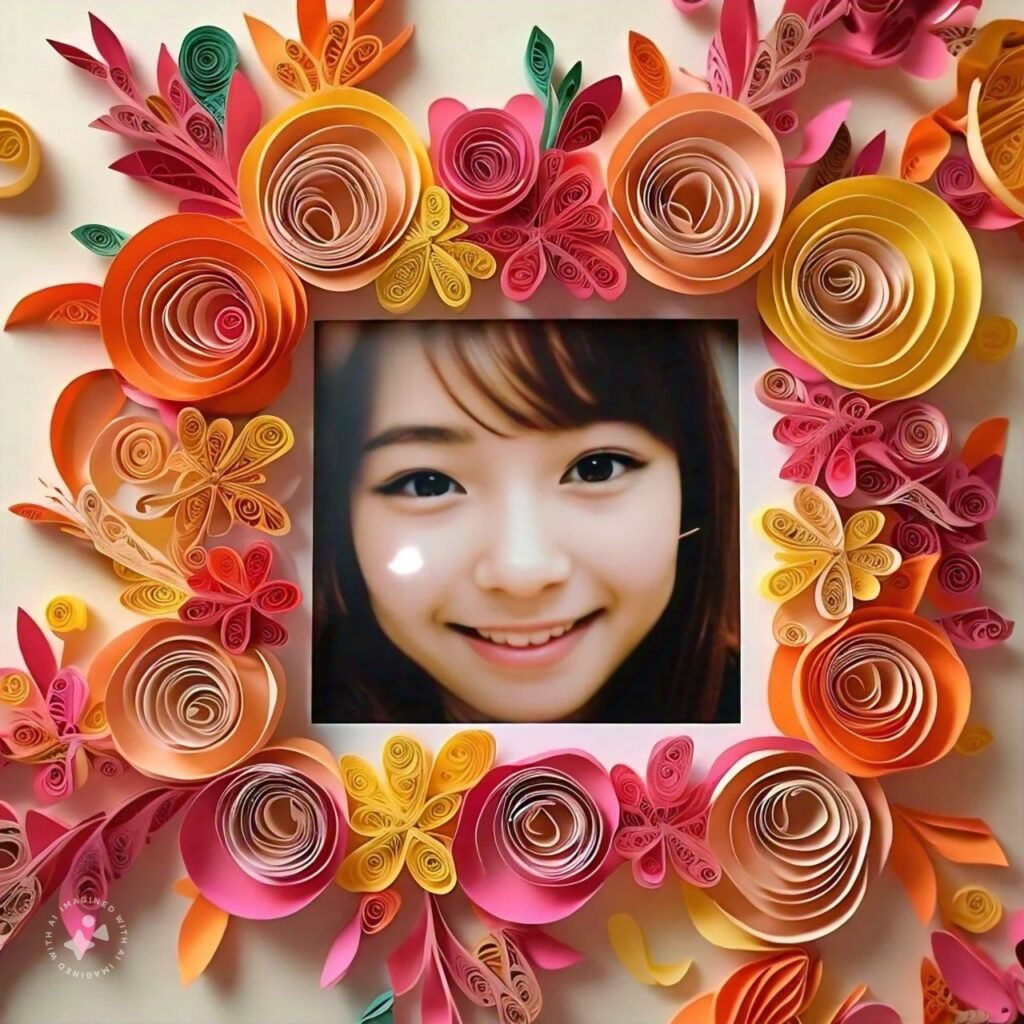
4. **Insert the Photo:**
– Place your photo behind the frame opening and secure it with tape or glue.
5. **Final Touches:**
– Let everything dry completely. – Your photo frame with paper flowers is now ready!
### Uses and Benefits of Paper Flower Photo Frames
1. **Personalized Gifts:**
– Handmade photo frames make thoughtful and personalized gifts for loved ones.
2. **Eco-Friendly:**
– Using paper and cardboard makes this craft environmentally friendly.
3. **Cost-Effective:**
– This is an affordable way to create beautiful decor.
4. **Creative Expression:**
– Allows for artistic creativity and customization.
5. **Home Decor:**
– Adds a unique and handmade touch to home decor.
6. **Educational Activity:**
– Great for engaging children in a fun and educational craft activity.
7. **Stress Relief:** – Crafting can be a relaxing and stress-relieving activity.