**Creating Paper Guava:
****Introduction**
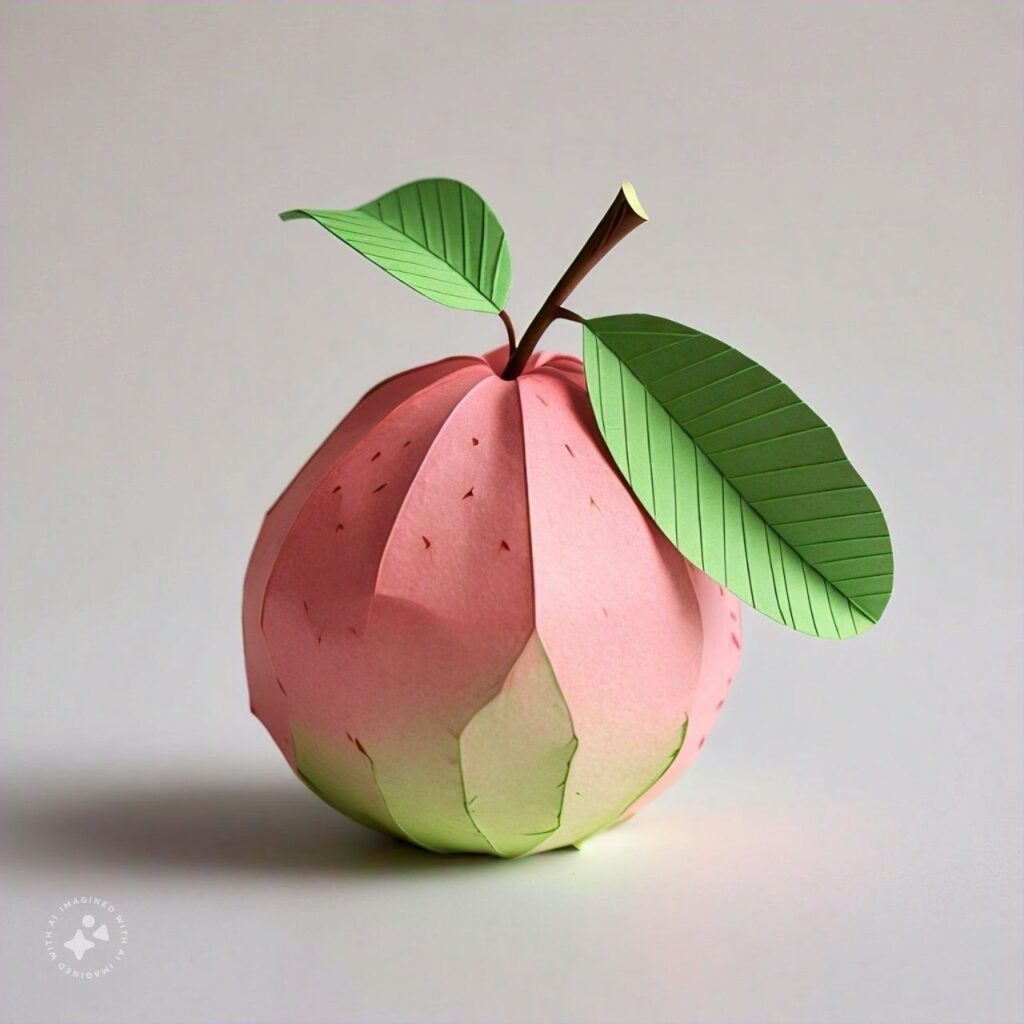
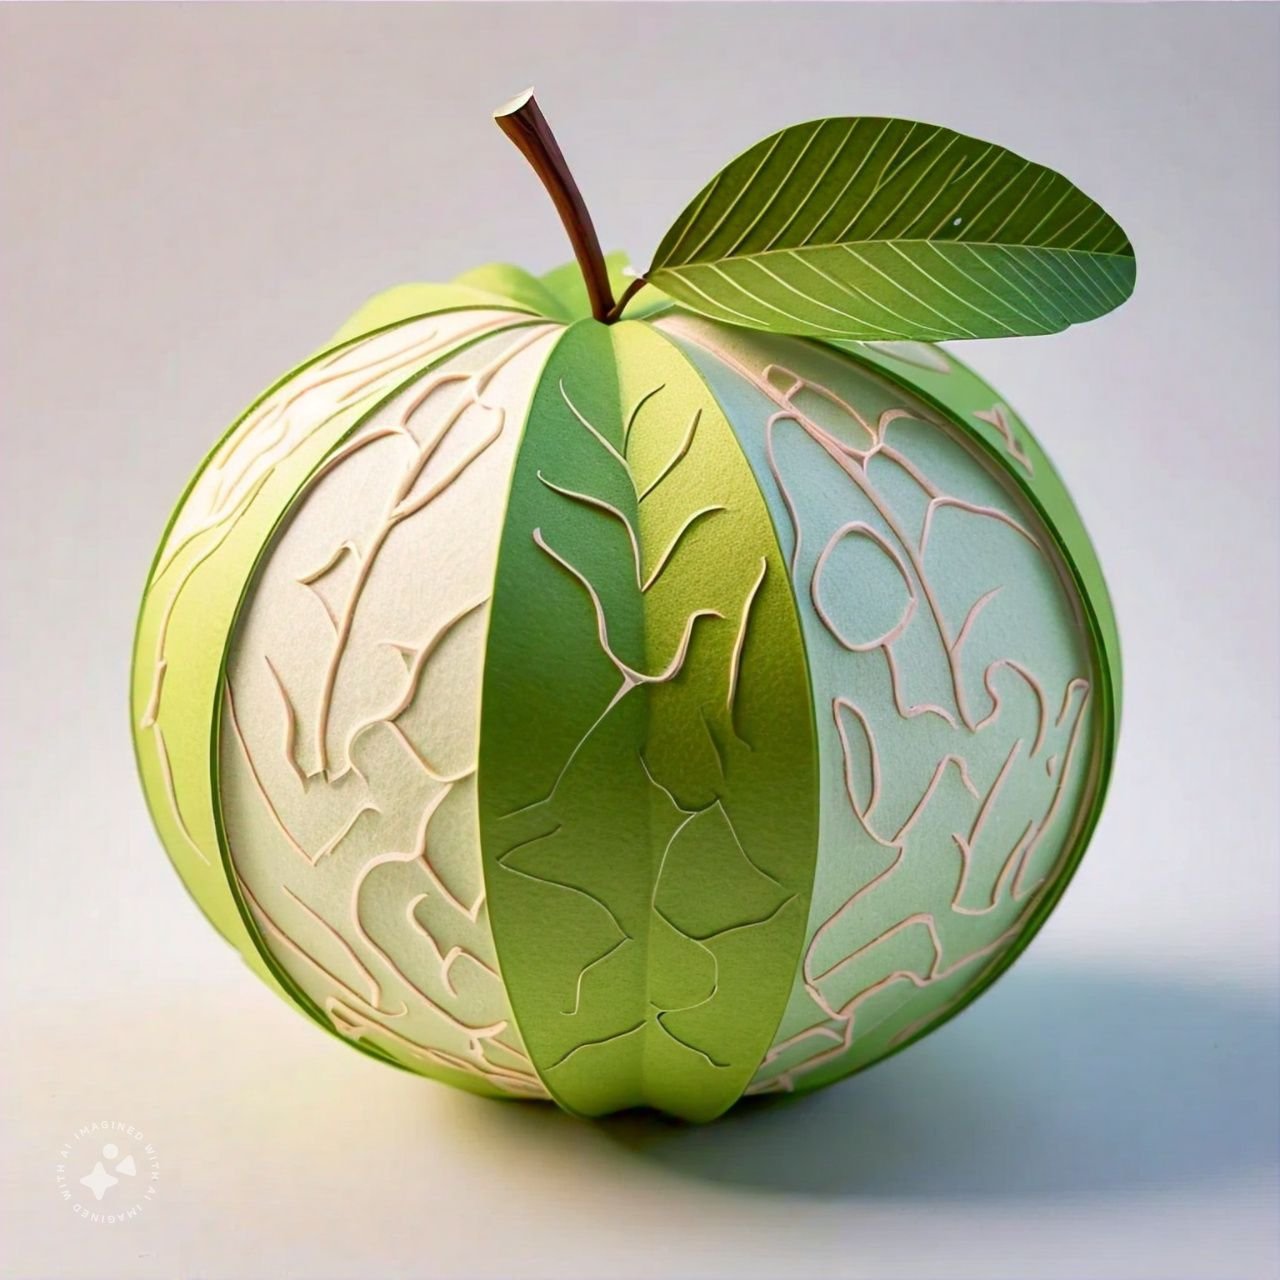
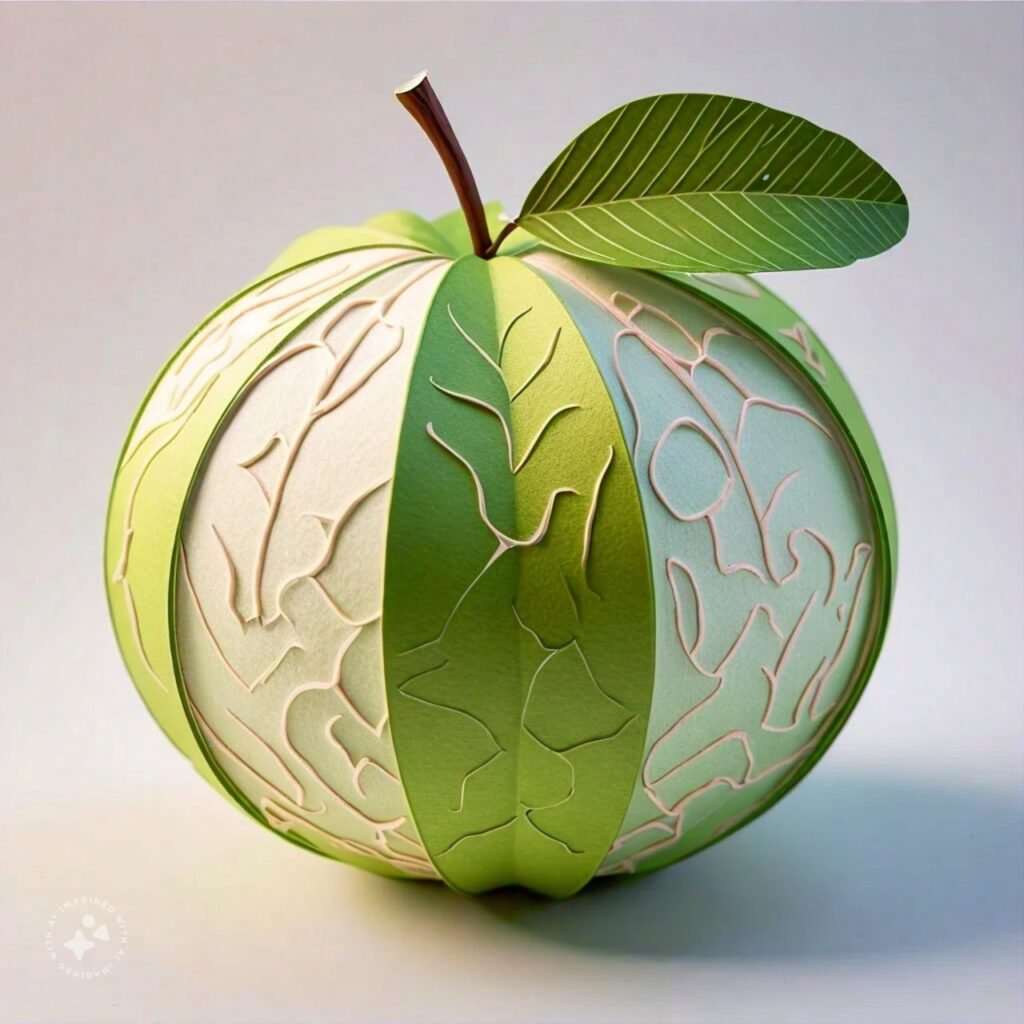
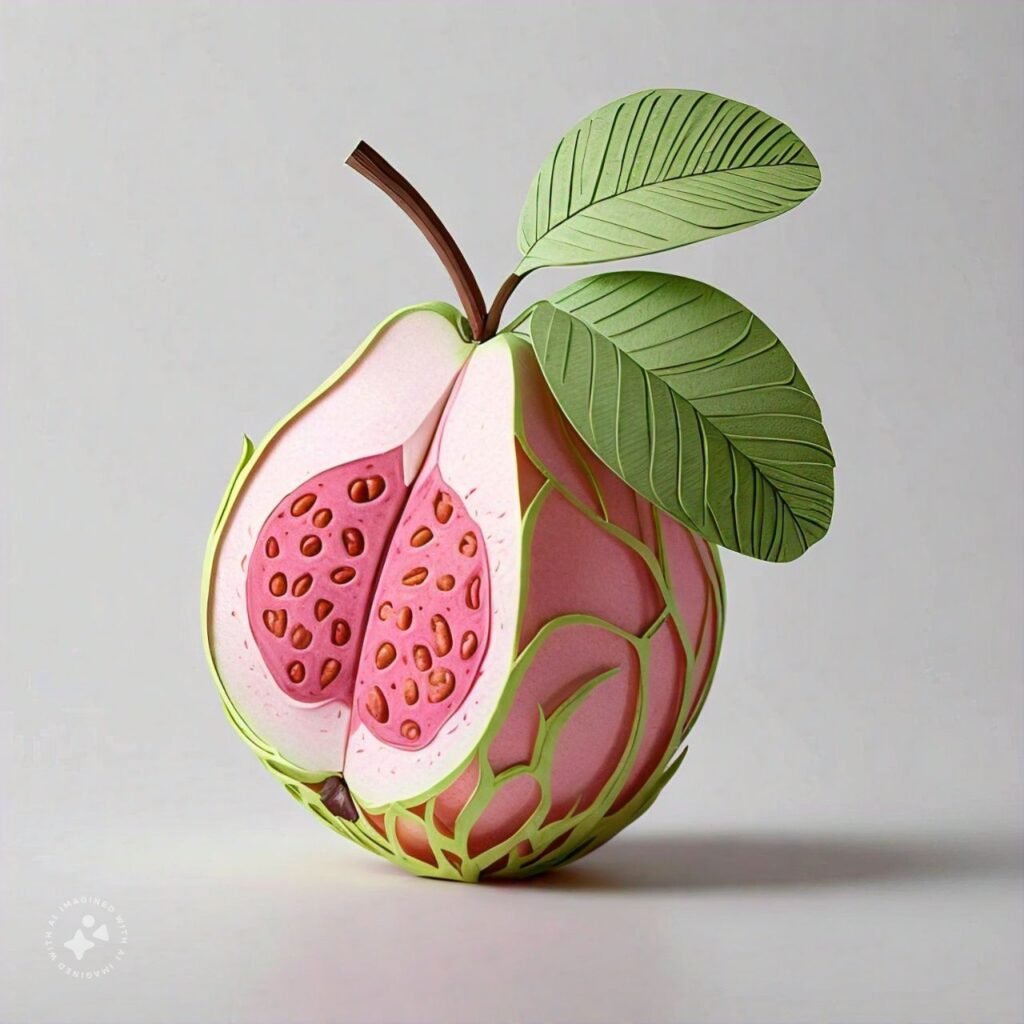
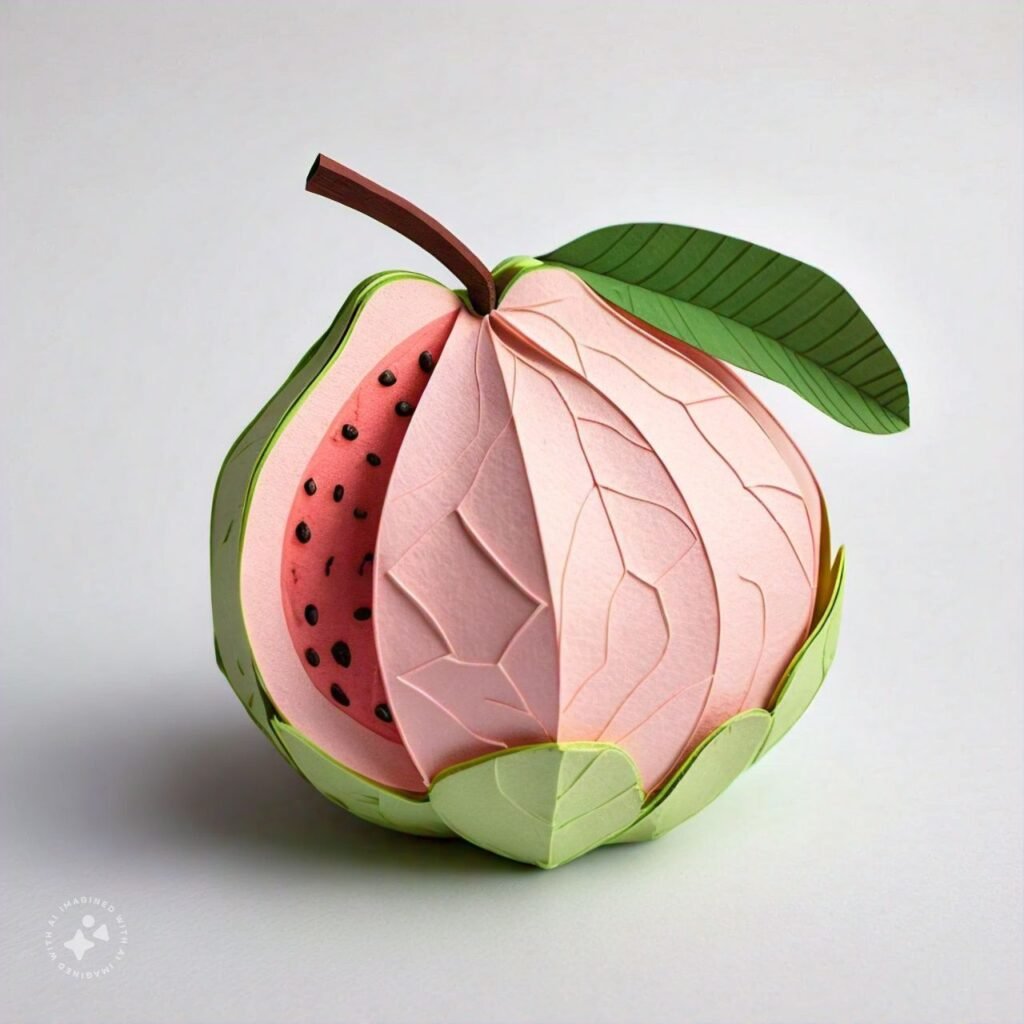
Crafting a paper guava is a delightful and creative way to bring a touch of nature into your art projects. Whether you’re looking to create beautiful decorations or add a unique handmade element to your crafts, a paper guava can be a charming addition. This guide will walk you through the steps to make your own paper guava, while also exploring the benefits and uses of this craft.
**Materials Needed**
1. **Colored Paper**: Choose shades of green, pink, and brown to mimic the appearance of real guava fruit and leaves.
2. **Scissors**: For cutting paper into shapes.
3. **Glue**: Craft or white glue works best for sticking paper together.
4. **Pencil**: For sketching out your design.
5. **Ruler**: To measure and cut precise shapes.
6. **Craft Wire (Optional)**: For creating stems or additional structure.
7. **Paint or Markers (Optional)**:
For adding details and texture.
**Step-by-Step Instructions**
1. **Prepare the Templates**:
– Start by sketching out the shapes you’ll need. For a guava, you’ll need oval or round shapes for the fruit, and leaf shapes. You might also need smaller pieces for details like the fruit’s texture.
2. **Cut the Paper**:
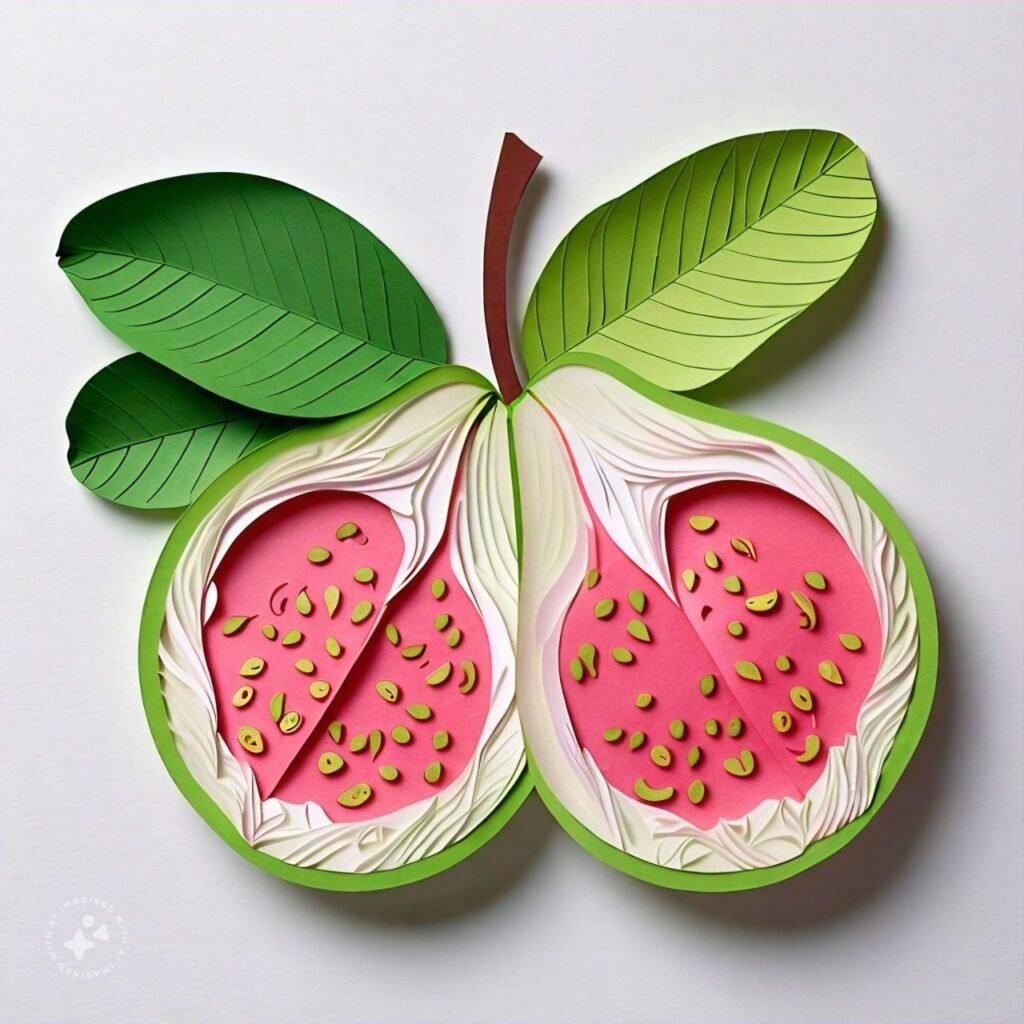
– Use your templates to cut out the shapes from colored paper. Typically, you’ll cut out a pink or green oval for the fruit, green leaf shapes, and possibly a small brown piece for the stem.
3. **Assemble the Fruit**:
– Begin by assembling the fruit. Glue the pink oval or rounded shape onto a green base if you want to simulate a guava with a slight green tint.
– For a more realistic look, add texture by lightly crumpling or painting the paper.
4. **Attach the Leaves and Stem**:
– Glue the leaf shapes to the top of the guava fruit. For a more realistic effect, you can use craft wire to attach the leaves and create a 3D effect.
– Attach the brown stem piece to the top of the fruit where the leaves meet.
5. **Add Details**:

– Use markers or paint to add additional details like speckles or textures to your guava to make it look more realistic.
6. **Let It Dry**:
– Allow all glue and paint to dry completely before handling your paper guava to ensure it stays together.
**Benefits of Making Paper Guava**
1. **Enhances Creativity**:
Crafting with paper allows you to explore your creativity and experiment with colors, shapes, and textures.
2. **Improves Fine Motor Skills**:
The process of cutting, gluing, and assembling helps improve dexterity and precision.
3. **Eco-Friendly**:
Using recycled paper or scrap paper for your projects is environmentally friendly and reduces waste.
4. **Affordable Crafting**:
Paper crafting is generally inexpensive, making it accessible to a wide range of people.
**Uses of Paper Guava**
1. **Decorative Pieces**: Use your paper guava as part of a fruit-themed decoration for parties, kitchens, or dining areas.
2. **Educational Tools**:
Teachers can use paper guavas to create visual aids in lessons about fruits or botany.
3. **Gifts and Cards**:
Incorporate paper guavas into handmade cards or gift packaging to add a personal touch.
4. **Art Projects**:
Include them in collages or mixed media art to enhance the visual appeal and texture.
**Conclusion**Making a paper guava is a fun and fulfilling craft that offers both creative expression and practical benefits. Whether you’re decorating your home, creating educational materials, or just enjoying a hobby, paper guavas provide a versatile and engaging way to craft. Embrace the process and let your imagination guide you to create beautiful and unique paper guava projects.
