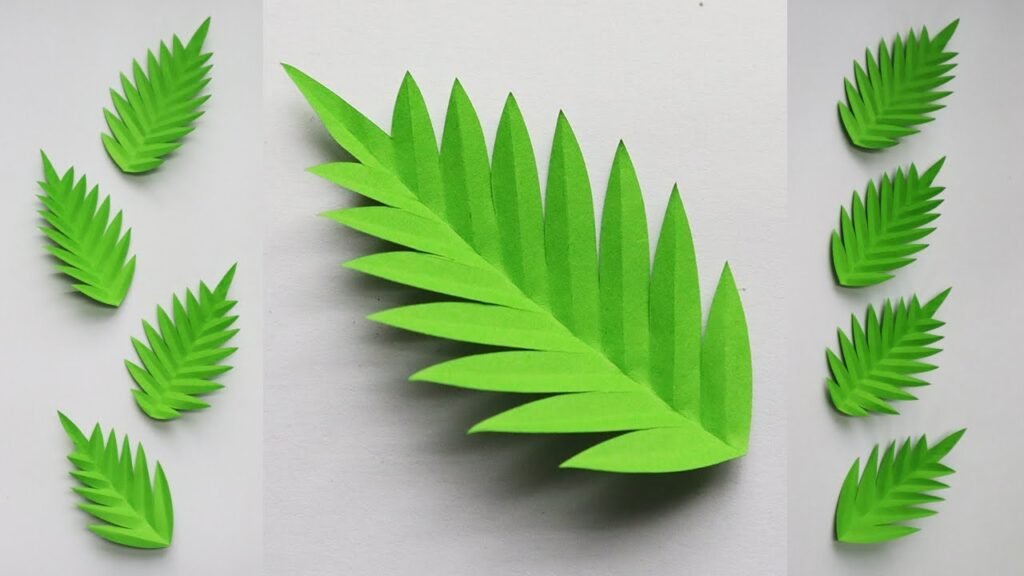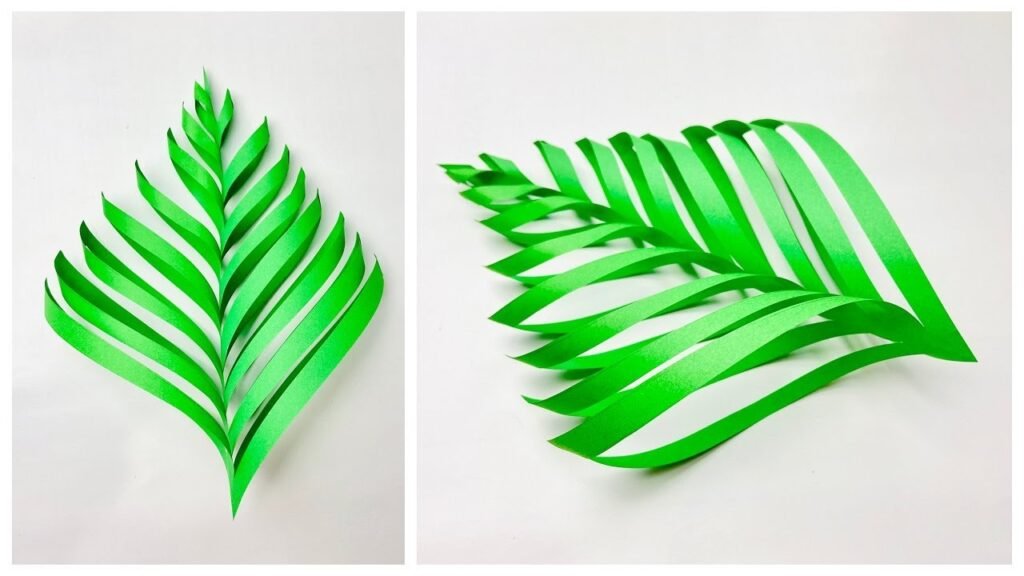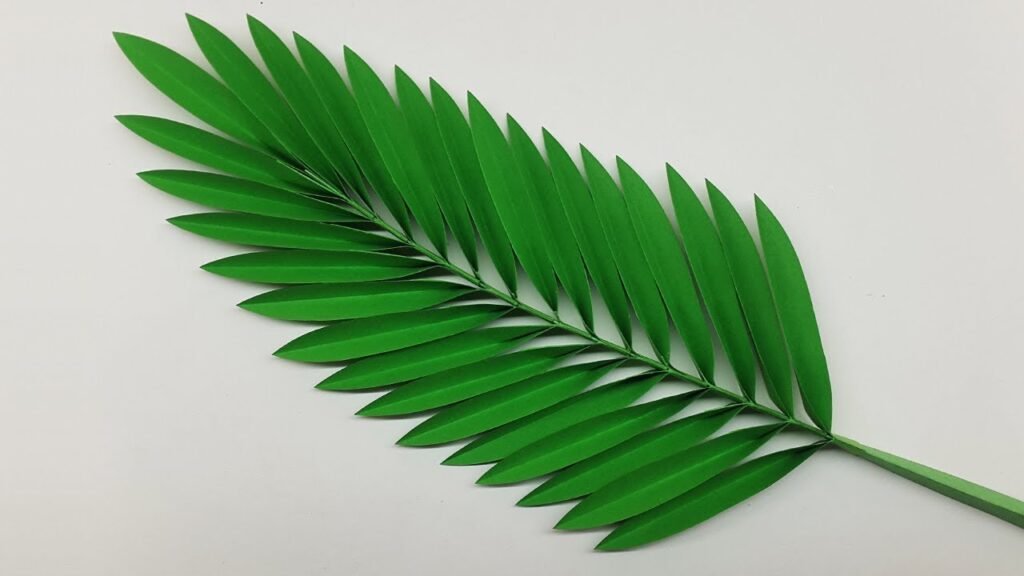
Making paper leaves is a fun and creative craft project. Here’s a simple guide on how to make them:
### Materials Needed:
– Green paper (construction paper, cardstock, or any type of green paper)
– Scissors
– Pencil
– Glue (optional for attaching to other projects)
– Leaf template (optional)###

Steps:1. **Draw or Trace the Leaf Shape:** – If you have a leaf template, place it on the green paper and trace around it with a pencil.
– If you don’t have a template, you can draw a leaf shape freehand. Start with a simple oval or elongated shape and add a pointed end. Add a central vein and some smaller veins branching out for a more realistic look.
2. **Cut Out the Leaf:** – Carefully cut along the lines of your leaf shape with scissors.

3. **Add Details:** – Using the pencil or a different color of pen or marker, draw the veins on the leaf. Start with a central vein down the middle, and then add smaller veins branching out from the center to the edges.
4. **Shape the Leaf:** – To give the leaf some dimension, you can gently fold or curl the paper. Fold it slightly along the central vein, and use your fingers to curl the edges slightly outward or inward.

5. **Optional: Attach to Projects:** – If you’re making these leaves to use in a larger project (like a wreath, a card, or a decoration), use glue to attach them to your project.
### Tips:-

Experiment with different shades of green paper to create a more varied and natural look.- Try different leaf shapes to mimic different types of leaves (e.g., maple, oak, or simple oval shapes).- For a fall theme, use shades of orange, yellow, and red paper to create autumn leaves.Enjoy your crafting!

Your website is very helpful for me keep going…
,❤️❤️
It’s very creative, productive and time friendly website.
❤️