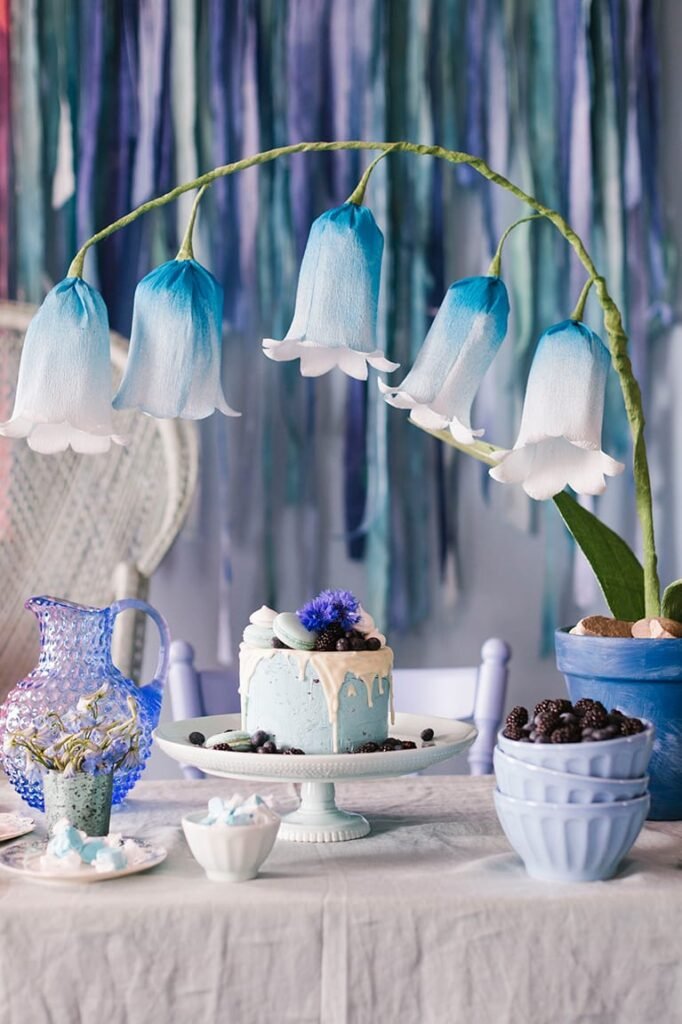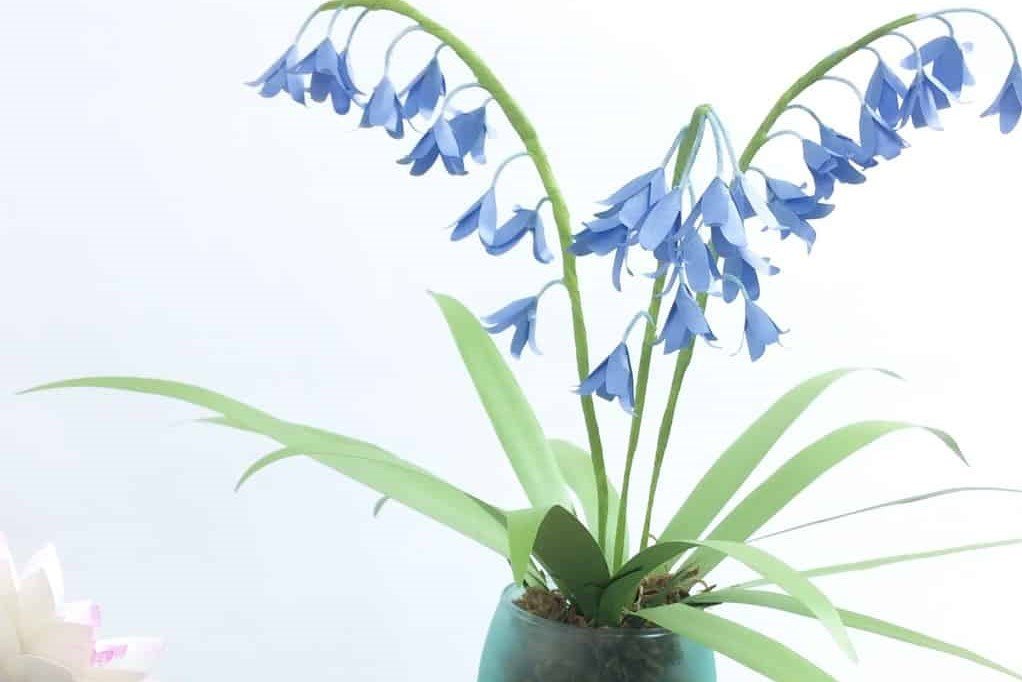
Making a paper lily flower is a fun and creative craft project. Here’s a step-by-step guide:
### Materials Needed:
– Colored paper (preferably origami paper)
– Scissors
– Glue- Pencil- Ruler (optional)
### Steps:1.
**Prepare the Paper:**
– Start with a square piece of paper. If you have rectangular paper, you can make it square by folding one corner to the opposite edge and cutting off the excess.

2. **Base Fold:**
– Fold the square paper in half diagonally to form a triangle.
– Fold it in half again to form a smaller triangle.
– Unfold the last fold so you have a larger triangle with a crease down the middle.
3. **Creating the Petals:**
– Take the right corner of the triangle and fold it up to the top point. Repeat with the left corner. – You will now have a diamond shape with two flaps on each side. – Fold the outer flaps inwards to meet the center crease.
4. **Shaping the Lily:**
– Fold the top layer of the bottom point up to the top point, creating a crease. Repeat this on the back side.
– Open up the bottom flap and squash fold it down. Repeat on the other side.
– Fold the two sides of the top point inwards to the center. Repeat on the back side.
– Fold the top point down to form a small triangle. Repeat on the back side.

5. **Forming the Flower:**
– Carefully open up the petals by gently pulling the layers apart. Curl the petals outward to give the lily a more natural look. – You can use a pencil to curl the tips of the petals for a more realistic appearance.
6. **Finishing Touches:**
– If desired, use glue to secure any loose parts or to attach multiple lilies together to form a bouquet.
### Tips:- Be precise with your folds for a cleaner look.

– Experiment with different paper colors and patterns for variety.- Add a green paper stem and leaves for a more complete flower.Enjoy your beautiful paper lily flower!