Creating paper peony flowers is a fun and creative DIY project that can add a touch of elegance to your home decor, gift wrapping, or event decorations. Here’s a step-by-step guide on how to make paper peony flowers, along with their benefits and uses.
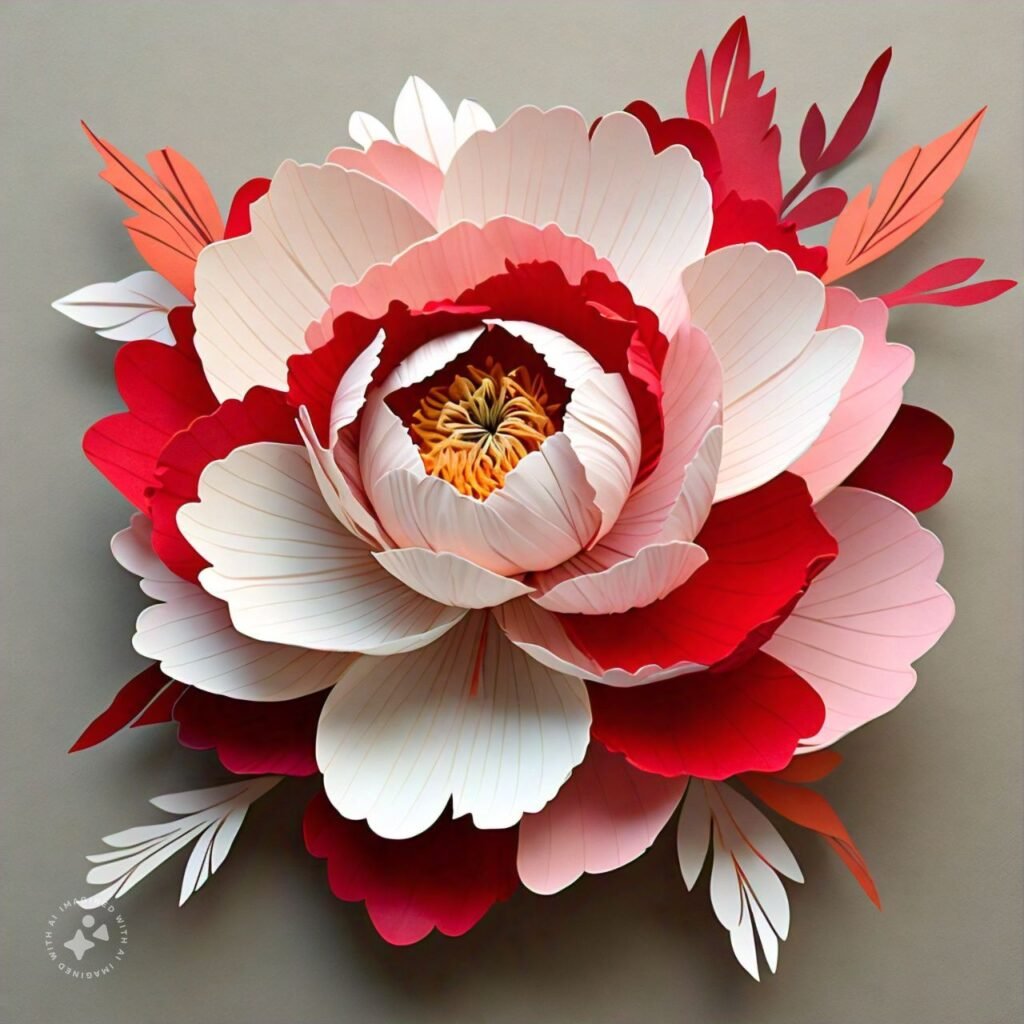
### **Materials Needed:**
1. **Colored crepe paper or tissue paper** (light pink, dark pink, or any color of your choice)
2. **Green crepe paper** (for leaves and stems)
3. **Floral wire** (for stems)
4. **Floral tape** (green color)
5. **Scissors**
6. **Glue or a hot glue gun**
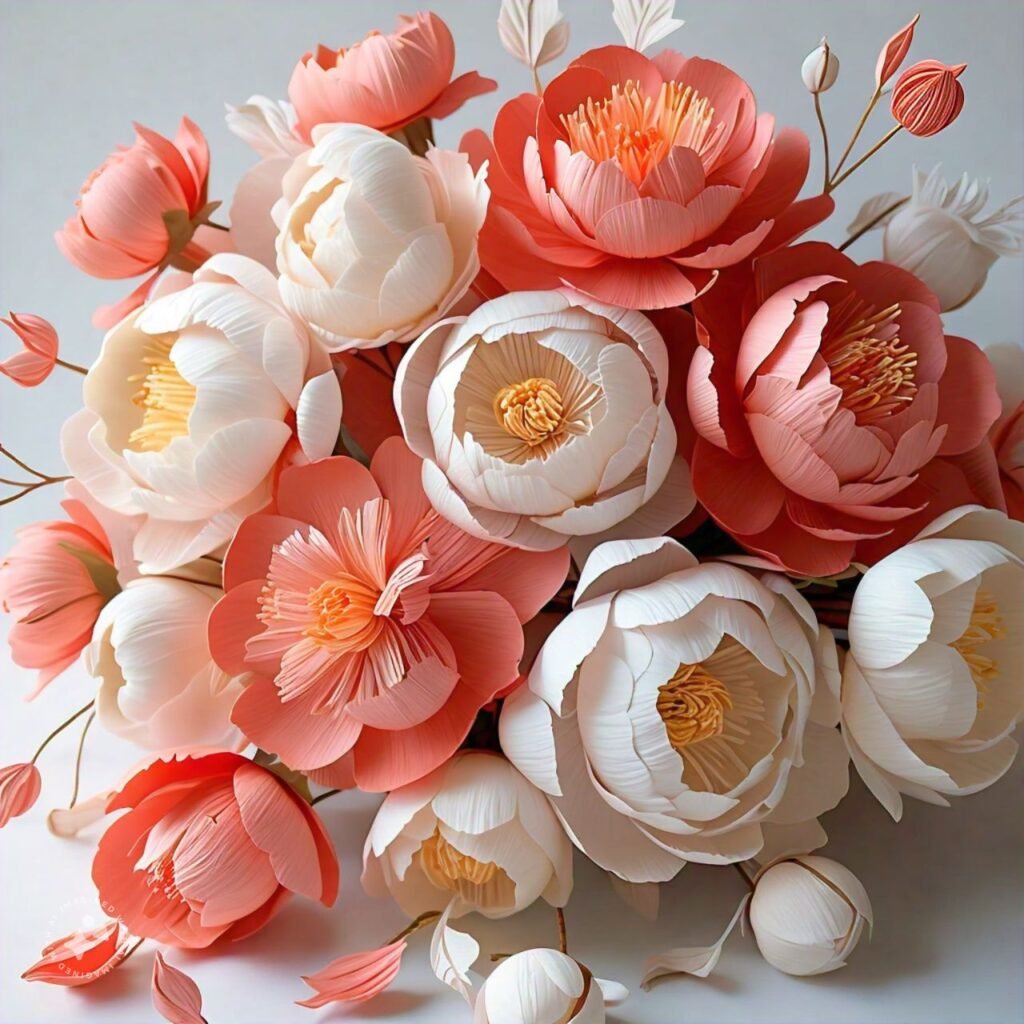
7. **Pencil**
8. **Ruler**
### **Step-by-Step Instructions to Make Paper Peony Flowers
Step 1:
Create Petal Templates**- Draw a petal shape on a piece of cardboard. Peony petals are typically oval with a slightly pointed tip.- Make three different sizes of petal templates: small, medium, and large.- Cut out the templates.
#### **Step 2: Cut the Petals**
– Use the templates to trace the petals onto the colored crepe paper. For each flower, you will need about 6-8 small petals, 6-8 medium petals, and 6-8 large petals.- Cut the petals out carefully.
#### **Step 3: Shape the Petals**
– Gently stretch the crepe paper petals along the center to create a slight curve, mimicking natural petal shapes.- Use a pencil to curl the edges of the petals outward to give them a more realistic look.
#### **Step 4: Create the Flower Center**
– Cut a small strip of yellow crepe paper (about 1 inch wide and 4 inches long).- Fringe one side of the strip by making small cuts along the length.- Roll the fringed strip tightly to form the flower’s center. Secure with a small amount of glue.
#### **Step 5: Assemble the Flower**
1. Attach the small petals around the center by gluing the base of each petal to the bottom of the flower center. Overlap the petals slightly for a fuller look.
2. Continue adding medium-sized petals around the flower, followed by the large petals, ensuring that each layer overlaps the previous one slightly.
3. As you add more petals, gently shape them to create a natural, blooming look.
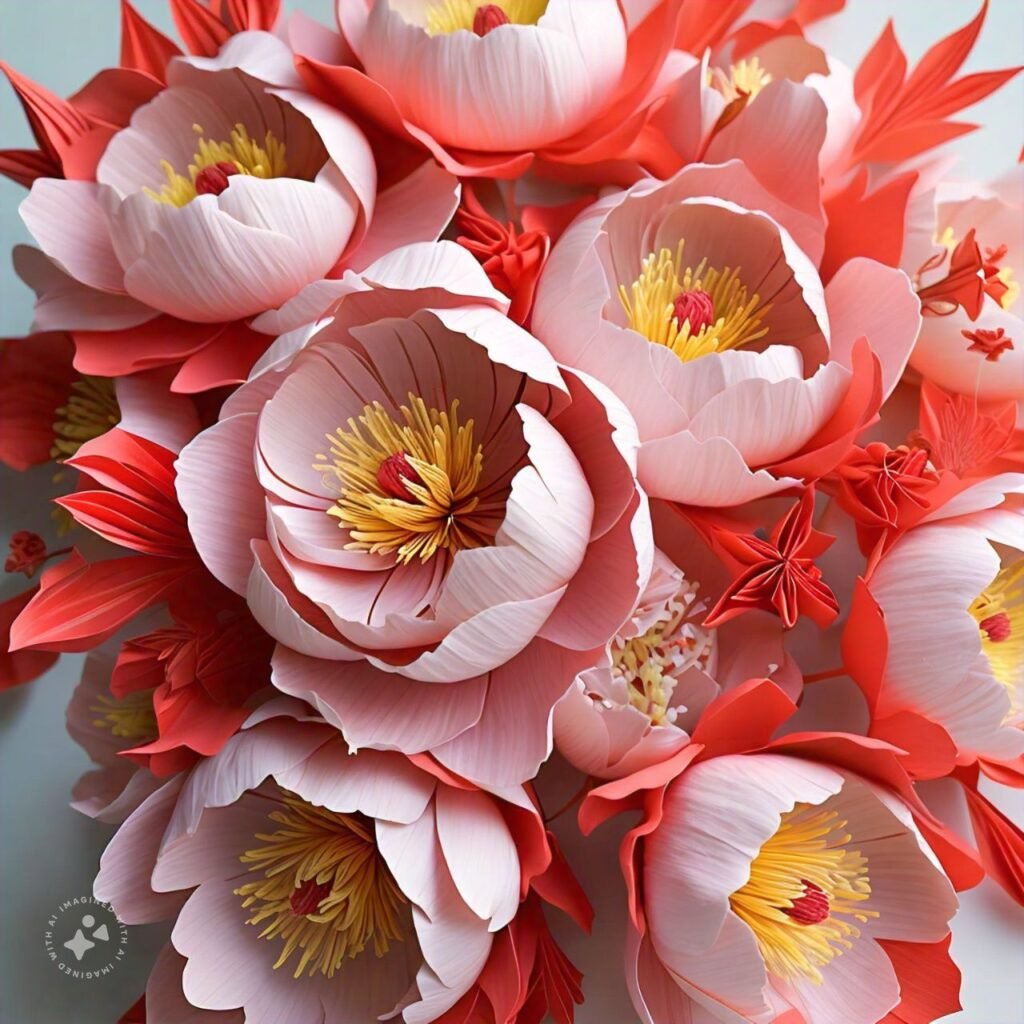
#### **Step 6: Create the Stem**
– Take a piece of floral wire and wrap it with green floral tape.- Attach the base of the flower to the top of the floral wire using glue or floral tape to secure it.
#### **Step 7: Add Leaves**
– Cut out leaf shapes from green crepe paper.- Glue the leaves onto the stem near the base of the flower or along the stem for a more realistic look.
#### **Step 8: Finishing Touches**
– Adjust the petals and leaves as needed to make your paper peony look as realistic as possible.- If using tissue paper, consider applying a light coat of spray adhesive for added durability.
### **Benefits of Paper Peony Flowers:
**1. **Long-Lasting:**
Unlike real peonies, paper flowers do not wilt or die, making them a long-lasting decoration.
2. **Allergy-Free:**
They are perfect for people with pollen allergies since they are made from paper and do not produce pollen.
3. **Customizable:**
You can customize the size, color, and style of paper peonies to suit any decor theme or personal preference.
4. **Cost-Effective:**
Making paper flowers is often cheaper than buying fresh flowers, especially for large arrangements.
5. **Eco-Friendly:**
They can be made using recycled paper materials, reducing waste and promoting sustainable practices.
### **Uses of Paper Peony Flowers:**
1. **Home Decor:**
Paper peonies can be used to create beautiful floral arrangements, wreaths, or garlands to decorate living rooms, bedrooms, or entryways.
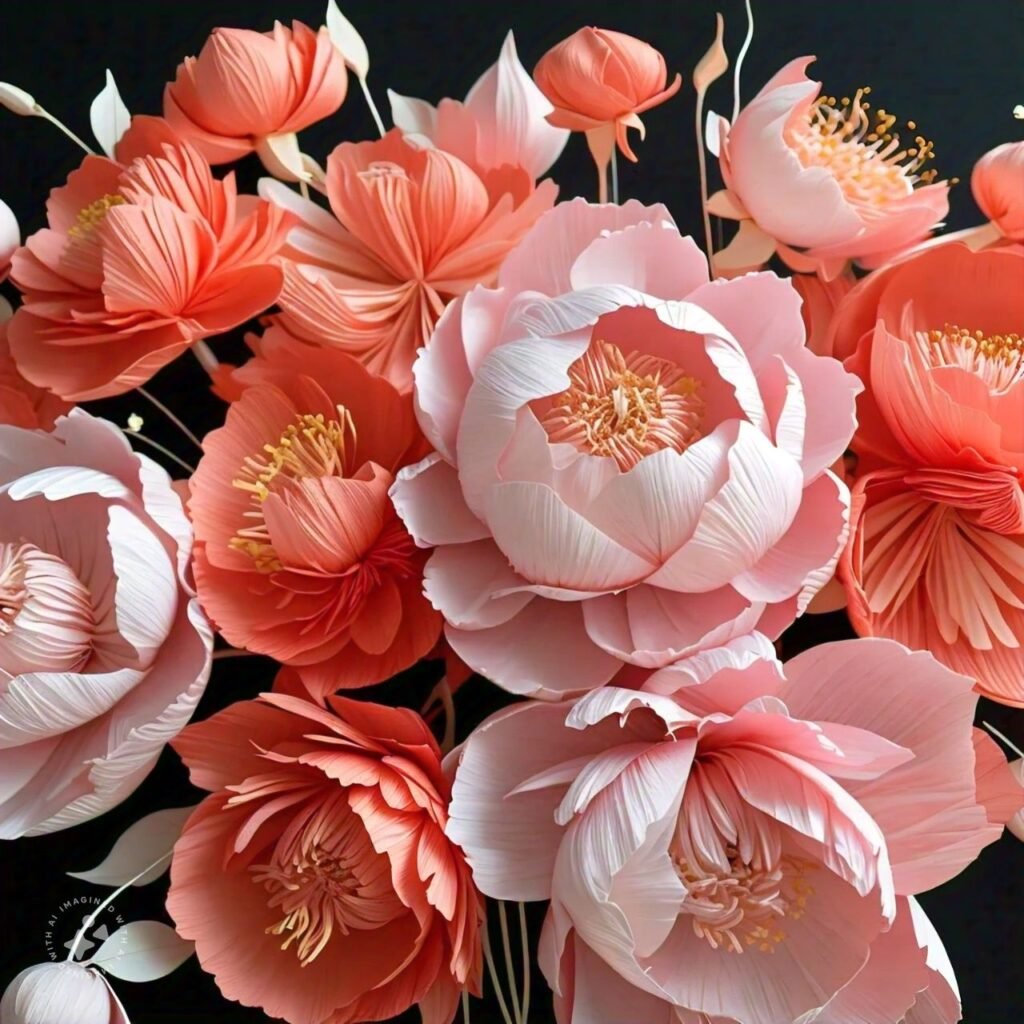
2. **Event Decorations:**
They make great decorations for weddings, baby showers, birthday parties, and other special events.
3. **Gift Wrapping:**
Attach paper peonies to gift boxes or bags for a personalized and elegant touch.
4. **Photo Backdrops:**
Create stunning photo backdrops for events or photo shoots by arranging large paper peonies on a wall or a canvas.
5. **Bouquets and Centerpieces:**
Use paper peonies to create bouquets and centerpieces for table settings or as standalone pieces.
### **Detailed Tips for Creating Paper Peony Flowers:**
– **Color Variation:**
Use different shades of the same color to create a more realistic look. For instance, combine light pink and dark pink petals.
– **Petal Texture:**
If using tissue paper, layer multiple sheets to give the petals more structure and volume.
– **Layering:**
Proper layering is key to a full and realistic peony look. Make sure to overlap petals and vary their placement.
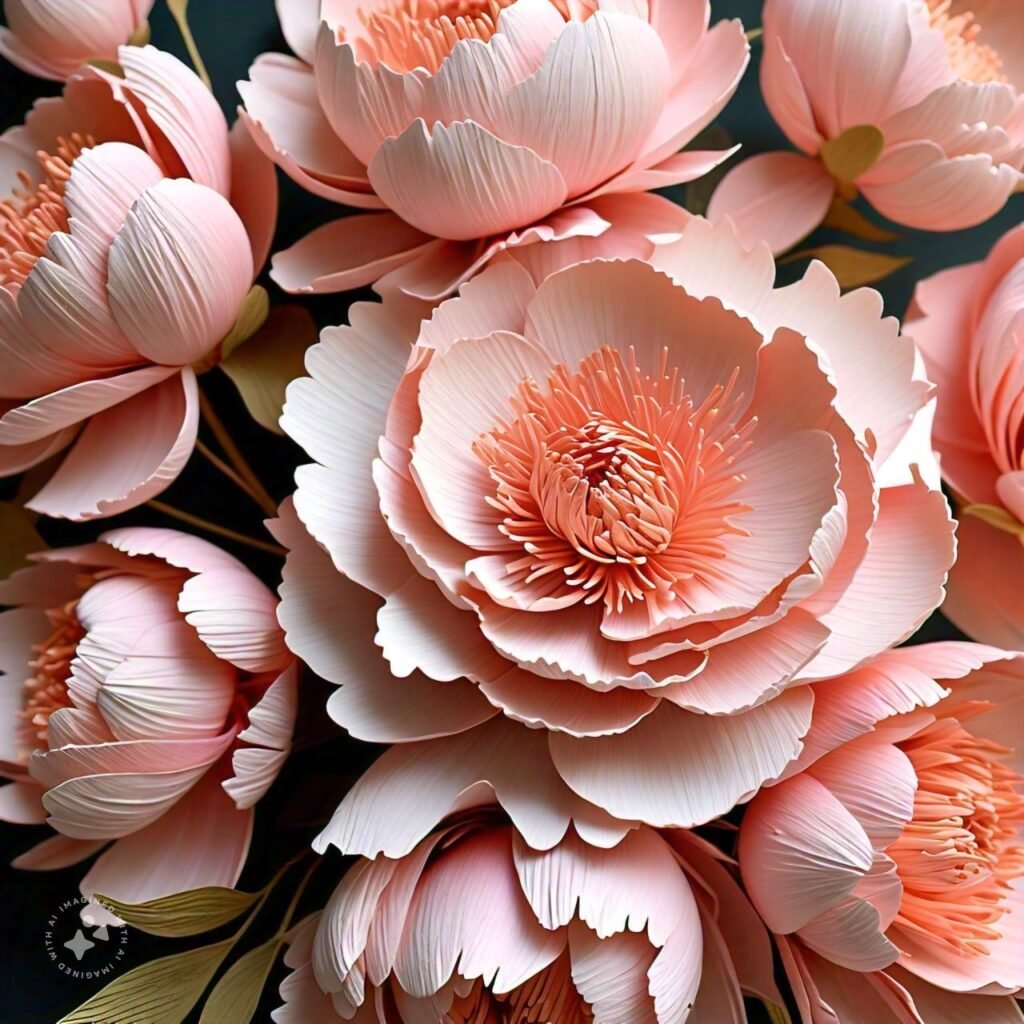
– **Center Detail:**
Adding small yellow paper stamen or using a slightly different shade for the flower center can make the flower appear more lifelike.Creating paper peony flowers is a rewarding craft that allows you to express your creativity while adding a personal touch to your surroundings. They bring beauty and elegance without the maintenance that real flowers require, making them a versatile choice for various applications.

Wonderful work 👌